CSE581; AU'11; Lab #2: 2D graphics

Due: Friday, Oct. 14, 11:59pm

FINALIZED

SUBMISSION - zip up the CL112D-MSVS2010 runnable project and upload it using the Carmen Dropbox

See getting started if you're having trouble getting started.


Objective

To get you started on OpenGl programming including:


Description

Write a program that draws:

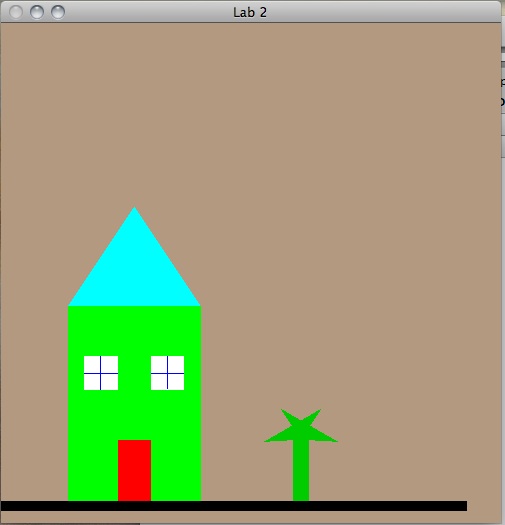
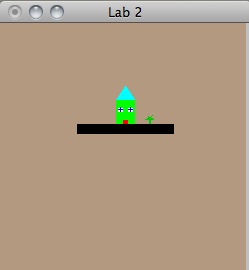
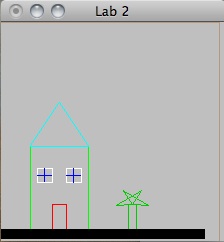
  • A simple house consisting of a door, two windows with panes, and a roof. See the picture to the right. Build it out of:
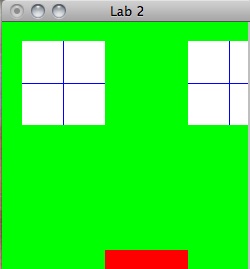
    • a unit square centered at the origin, (+/- 0.5, +/- 0.5)
    • a unit triangle centered at the origin ( (0.0,0.5), (0.5,-0.5), (-0.5,-0.5))
    The house requirements are as follows:;
    • transform 4 copies of the square and the triangle into their appropriate places as described below
    • the center of the base of the house should be at (40,5)
    • the width of the house should be 40 units, the total height should be 90; the height of the roof should be 30
    • each window is a square with 2 lines (thickness=1) drawn on top. Each window should be above the door and spaced roughly as in the image to the right.
    • the door should be positions and sized roughly as in the image to the right.
  • draw a tree at (50,0) relative to the base of the house consisting of:
    • a tree trunk consisting of a transformed square
    • tree 'leaves' consisting of two rotated and scaled triangles.
  • draw a thick line (thickness = 10) to represent the ground at (-100,0):(100,0) relative to the base of the house
  • initialize the world window at 0:150; 0:150
  • initialize the screen (user interface window) to be 500x500

NOTES

  • INCREMENTAL PROGRAM DEVELOPMENT strongly suggested. Get something working, add to it, get something else working, add to it, etc. ...
  • you must pay attention what order you draw elements. Elements will be drawn on top of previously drawn elements. Alternatively, you can use the z-coordinate to control which elements occlude other elements - but then you have to enable and clear the depth buffer.
  • get this working first, then add the 'additional functionality' itemized below
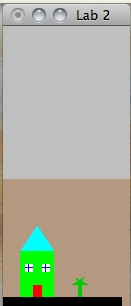
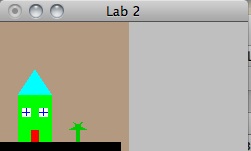
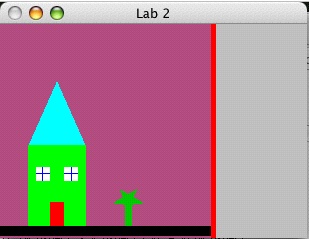
  • 'screen space' is the 'user interface window'. The viewport is a subset of the screen space (or equal to it)
  • the 'user interface window' is as opposed to the 'world space window' (or, a little simpler, the 'world window') that is involved in the window-to-viewport mapping.


Additional functionality

After changing the display according to any of the following user interaction, issue:

        glutPostRedisplay()
to tell OpenGL to display the new image. At the end of your display program, call
        glFlush() 
to empty OpenGL's buffer.


  1. Aspect ratio matching.
    Allow for the user interface window to be resized while preventing distortion by adjusting the viewport limits. Whenever the aspect of the world-window/viewport does not equal the aspect of the entire user interface window, compute new viewport limits that are as large as possible, but still has an aspect ratio that matches the world window aspect ratio. Do one (or both) of the following:
    1. draw a red line that shows the limit in screen space (the user interface window).
    2. make the viewport a different color than the entire screen space.

    NOTES:

    • Depending on whenter the aspect ratio of the window is larger or smaller than the aspect ratio of the resized user interface window (aka 'screen space'), set the 'viewport right' limit or the 'viewport top' limit so that the aspect ratio of the viewport equals the aspect ratio of the window. The 'viewport left' and 'viewport bottom' values for this lab can always be kept at zero.
    • You can give the window a different color than the entire screen by drawing a polygon that is the size of the window and giving it a color different from the 'clear color'

  2. Moving the world window.
    Implement the mouse movement with left mouse button down to move the world space window. The cursor should stay in a fixed place relative to the image - (similar to, say, how you can grab and move the map around in Google maps

    NOTES:

    • Use the 'process mouse' callback function to test if the event is the 'left button' 'down'. If it is, then record the x,y position of the mouse (call is the 'recorded mouse position')
    • Use the 'process motion' callback function to record the current mouse position, map both the 'current mouse position' and the 'recorded mouse position' to the world coordinates using the window-to-viewport mapping equation. Use the dx and dy in world space to move the window by -dx and -dy. Then update the 'recorded mouse position' by setting it equal to the 'current mouse position'.
    • Curiously, GLUT uses screen space coordinate system that has (0,0) in the upper left corner of the screen - so to use this in the window-to-viewport mapping, you need to convert the glut coordinate into the equivalent OpenGL coordinate of (0,0) in the lower left corner of the screen.

  3. Scaling the world window.
    Implement the following (special) key stroke functionality:
    • 'up arrow' and 'down arrow' - zoom in and zoom out, respectively

    NOTES:

    • To Zoom in, scale down the world window; to zoom out, scale up the world window.
    • use 1.5 as a scale factor - seems to do a good job
    • Scale the world window relative to its center

  4. Key strokes, especially changing the polygon mode.
    Implement the following key stroke functionality:
    • 'r' - reset world window to original values
    • 'p' - toggle polygon fill v. line drawing in the polygon mode command
    • 'q' - quit

    NOTES:

    • you can implement the 'p' key using a 'global' variable (call it 'pm') that you tobble between 0 and 1 (pm = 1-pm). Then, based on its value use either:
              glPolygonMode(GL_FRONT_AND_BACK,GL_FILL)
      
      or
              glPolygonMode(GL_FRONT_AND_BACK,GL_LINE)
      
    • alternatively, you can implement 'p' key by getting the current value of the polygon mode into an array of integers by:
              glGetIntegerv(GL_POLYGON_MODE,mv)
      
      and then testing mv[0]. mv[0] is the mode of the front facing polygons and mv[1] is the mode of the back facing polygons; for your lab, these are always the same value. if the current value equals GL_FILL, then change the mode to GL_LINE and vice versa.