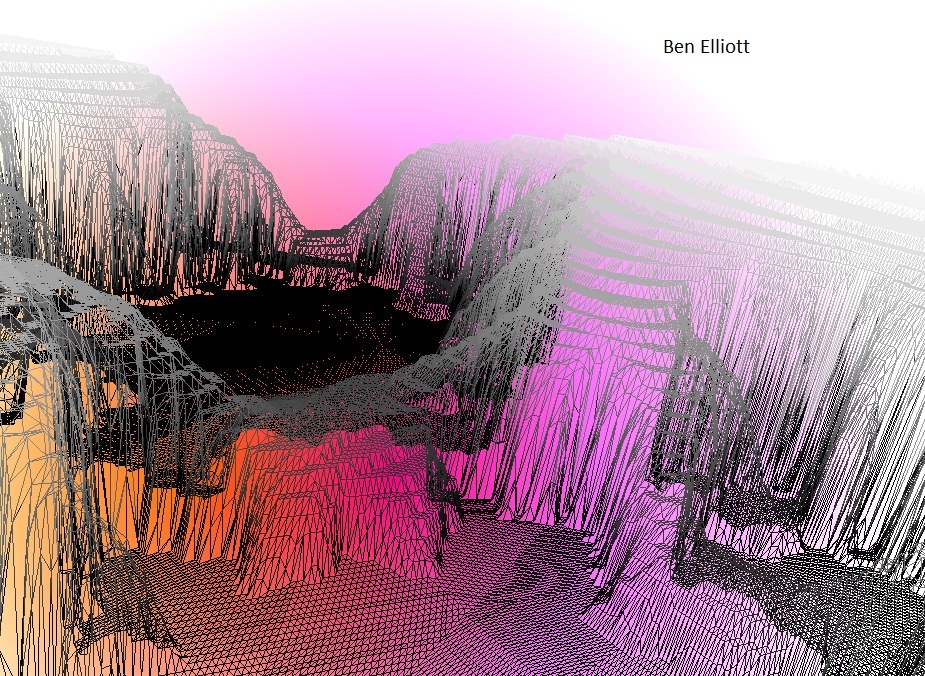
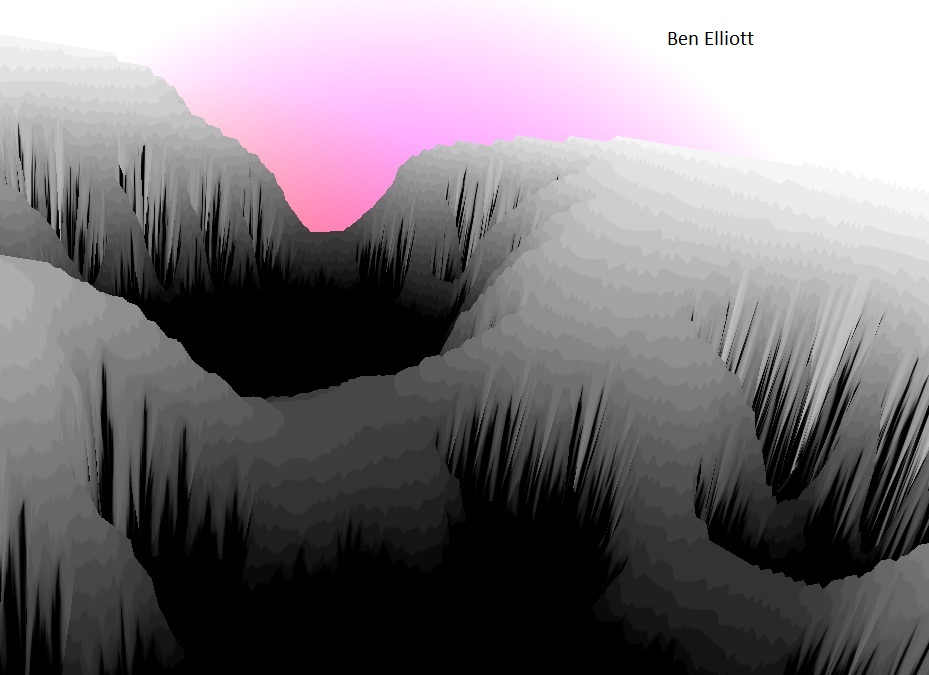
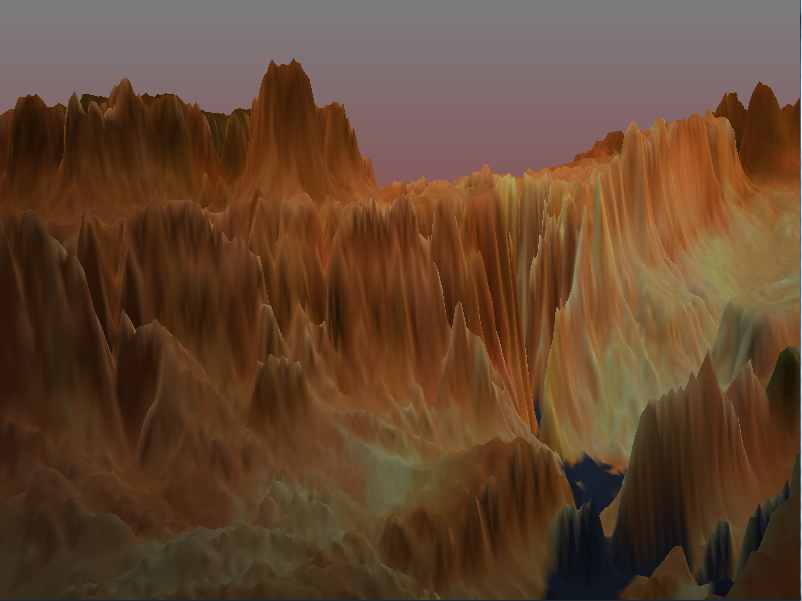
Terrain Tessellation
Making use of the new tessellation shaders was the focus of this project, and took some understanding to fully implement them. The input for the tessellation was a high res terrain height map that was generated by drawing the Julia fractal to a texture, and sampling this height map in the tessellation evaluation shader.
Cool Video of the tesselation
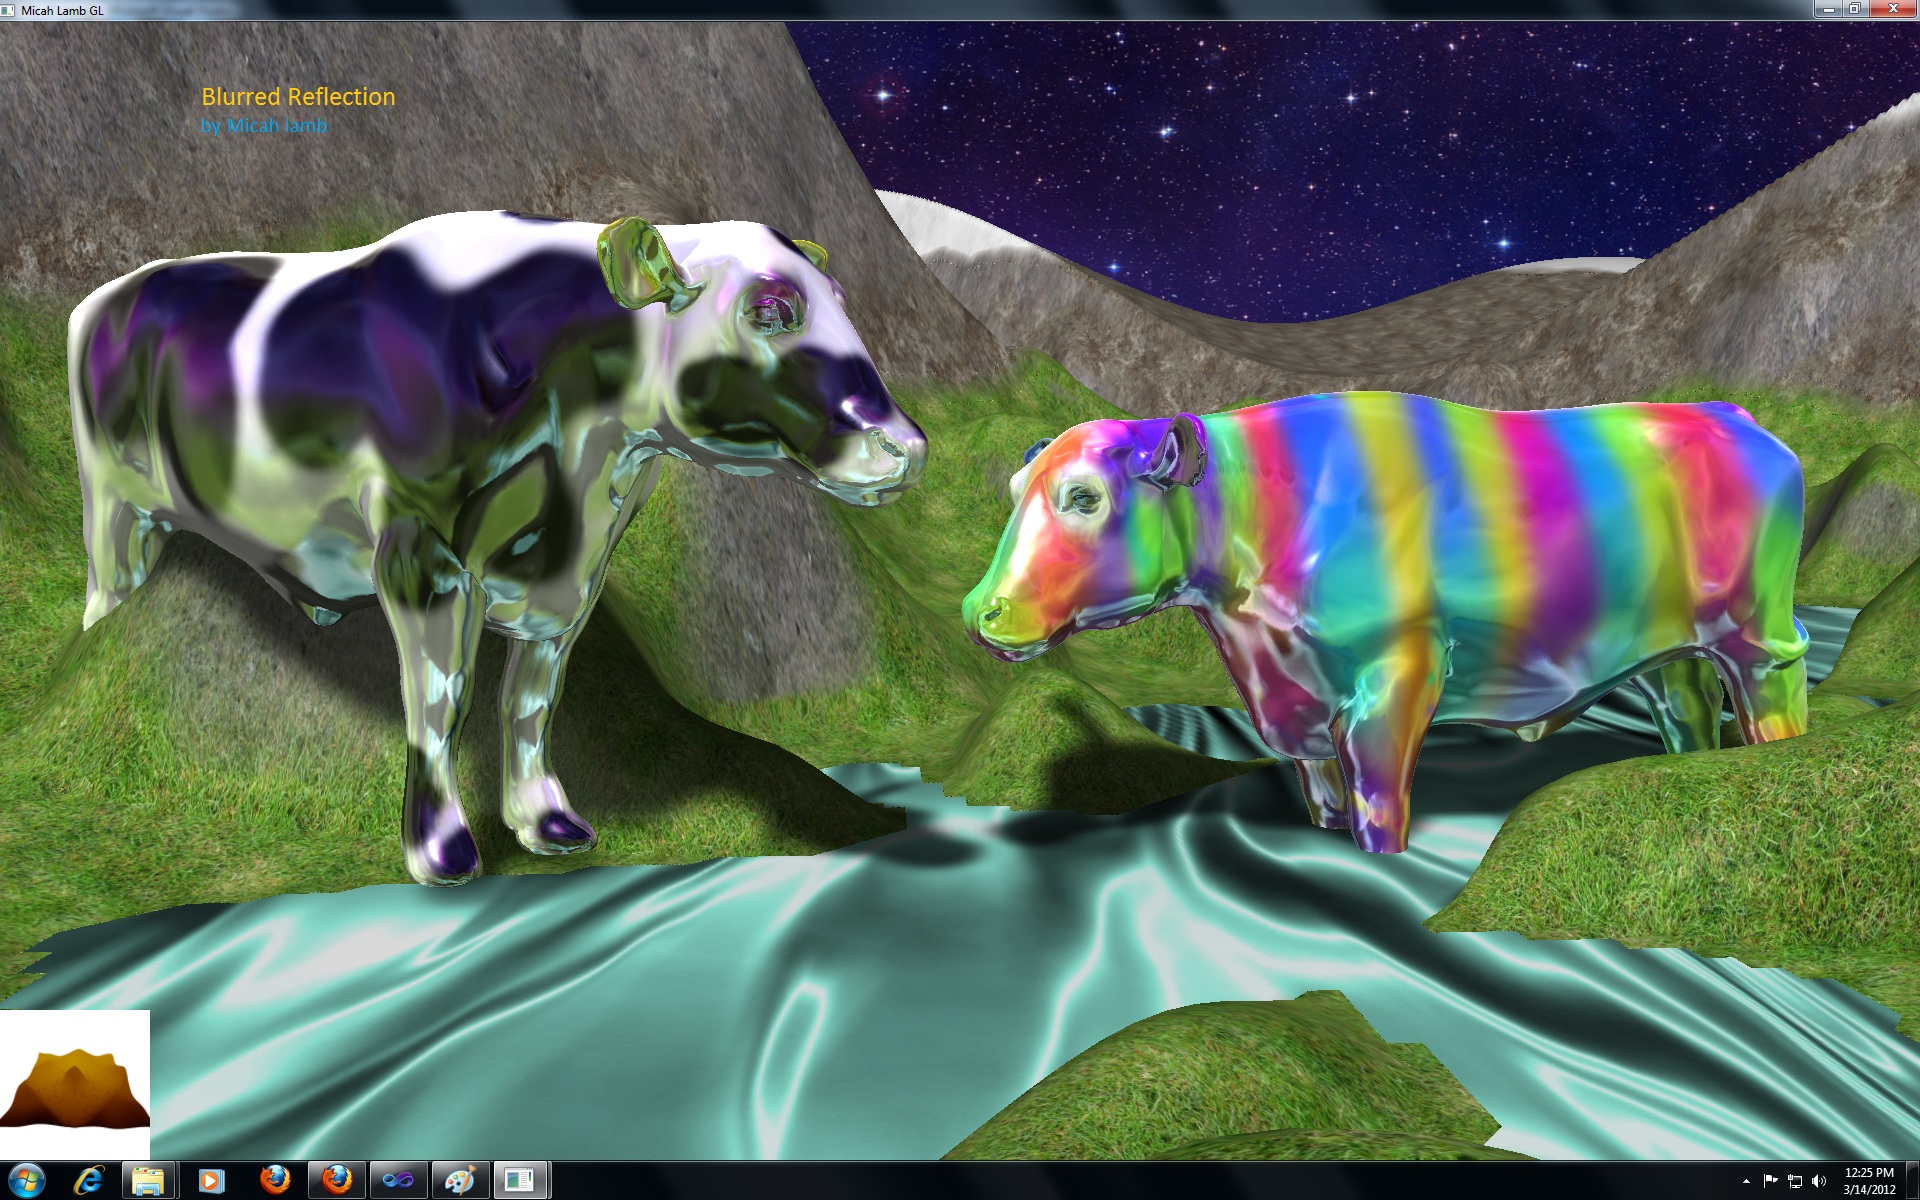
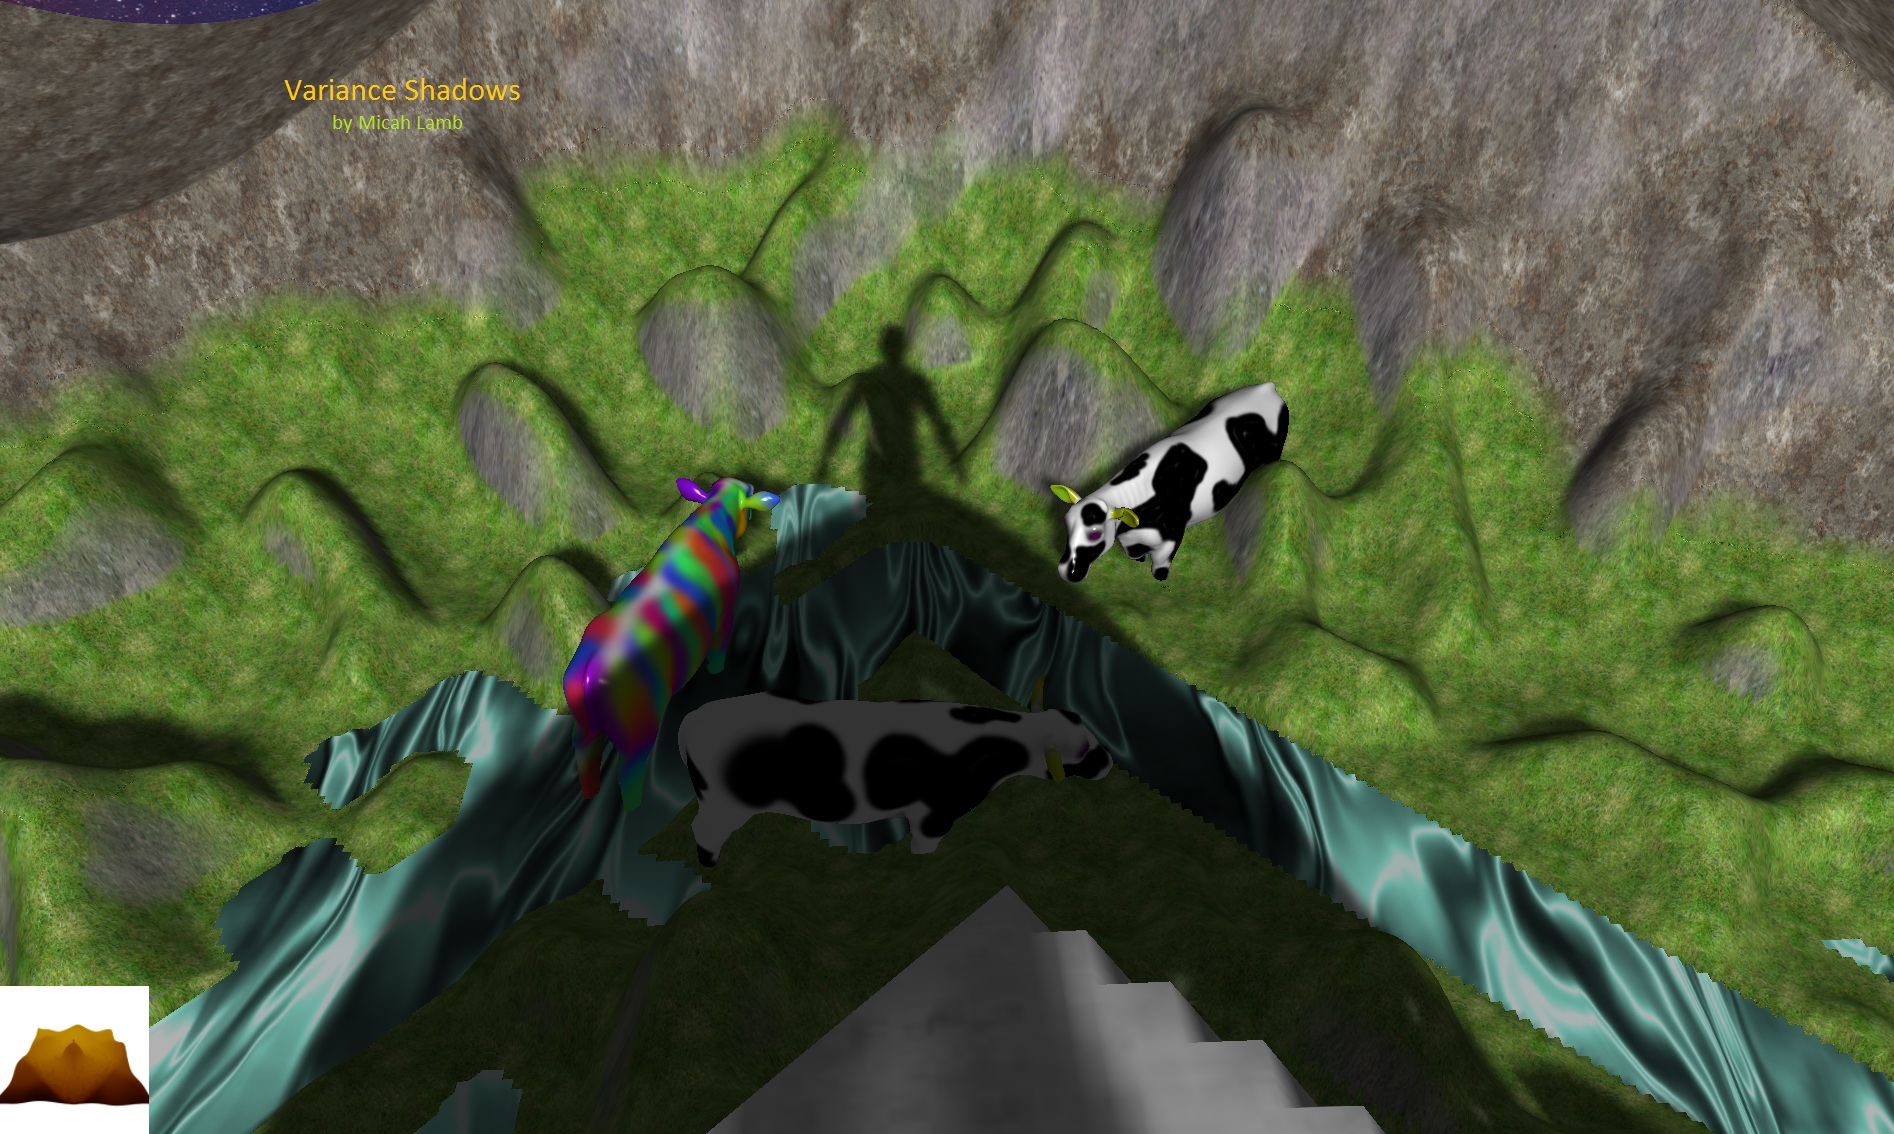
Variance Shadow Maps and Environment Mapping
Variance shadows allow blurred non aliased shadows which isn't possible with normal shadow mapping. I implemented them by first rendering the scene (from the lights point of view) to a texture and recording the z and z^2 values. Next this texture is filtered by a 3x1 gaussian in the x followed by the y direction. This should have the same effect as doing a 7x7 gaussian blur but requires 14 instead of 49 texture samples. Finally the blurred depths and depths^2 are sampled when doing lighting. A shadow intensity value between 0 - 1 can be calculated by using a probabilistic equation (Chebychev's Inequality) using the two values.
Environment mapping is done by using the built in OpenGL cube map texture. The cube map texture requires 6 2d images which represent the faces of a cube surrounding a pt. In a shader the cube map can be sampled using the reflecting or refracting vector from the eye to the fragment to get the color of the reflection/refraction. The sampled texel is determined by first picking one of the 6 faces based on the xyz component with the highest magnitude. Next, the 2d coordinates in that faces texture are determined by the value of the other two smaller components (This is done automatically by using the samplerCube sampler).
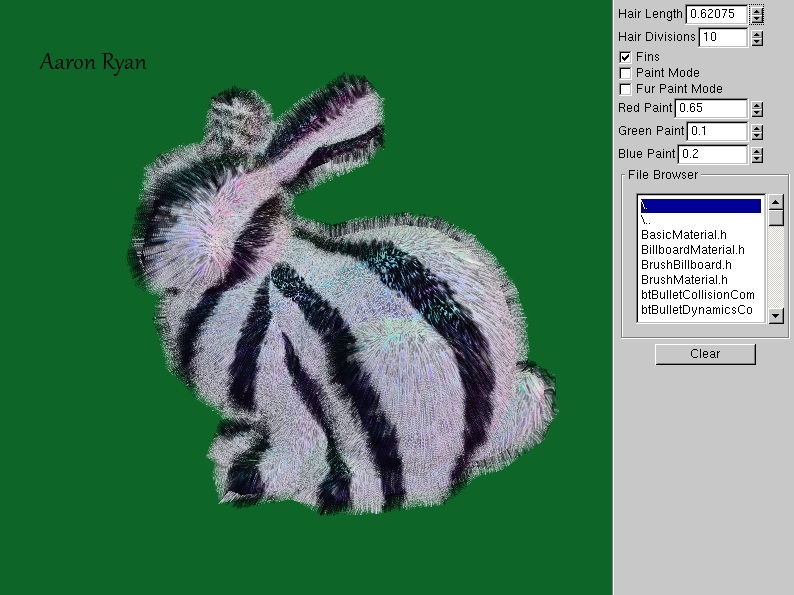
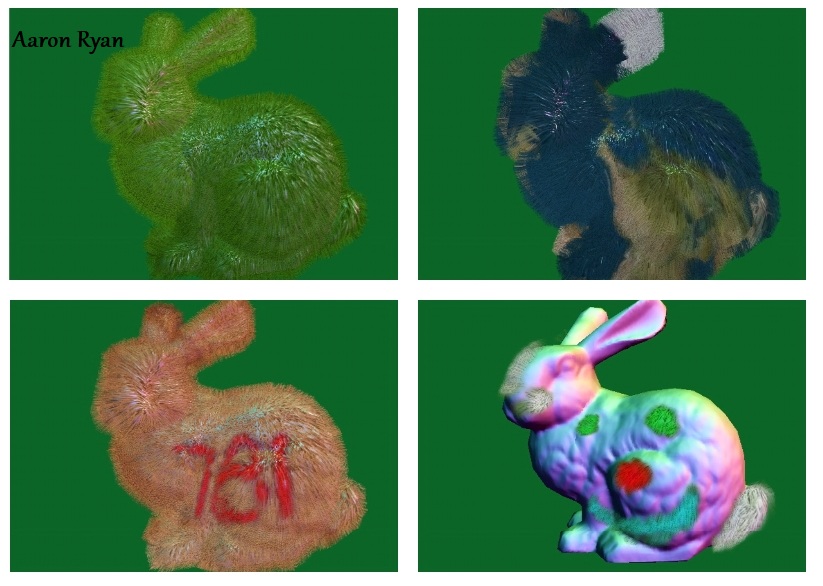
Fur Rendering
These images showcase some of the best work I was able to create rendering fur. My
implementation included the ability to change the amount of subdivisions per hair, change the
fur length, paint fur, paint the color of fur, and to texture map the fur. I used the shells
and fins approach to accomplish this. The hair texture is generated by random noise, and the
shadow per hair is an offset of this texture with a slight grey hue. (website)
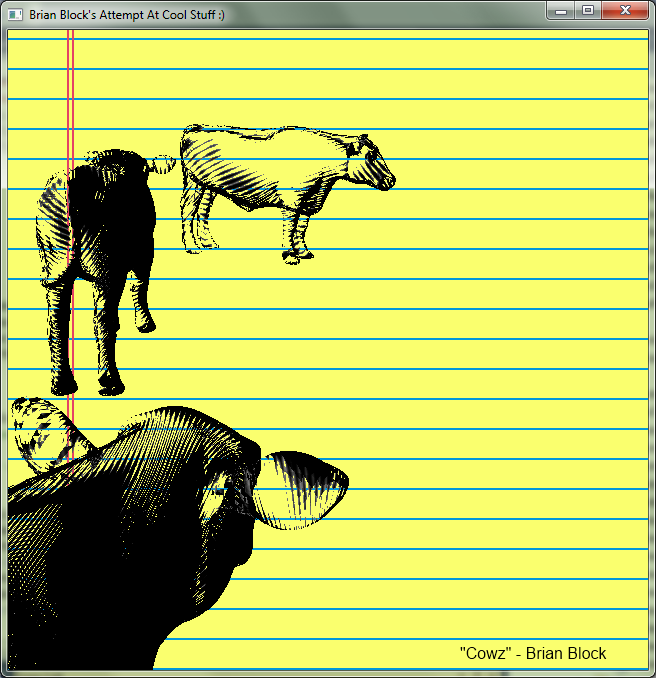
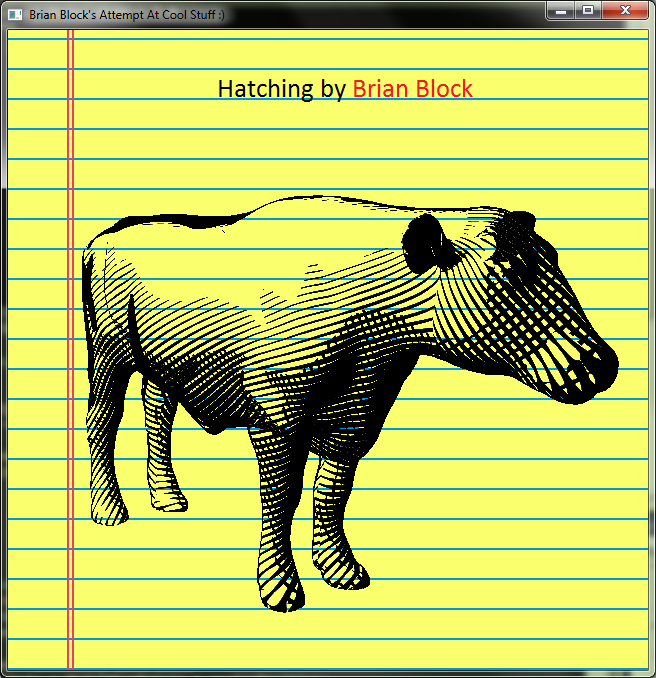
Toon Shading
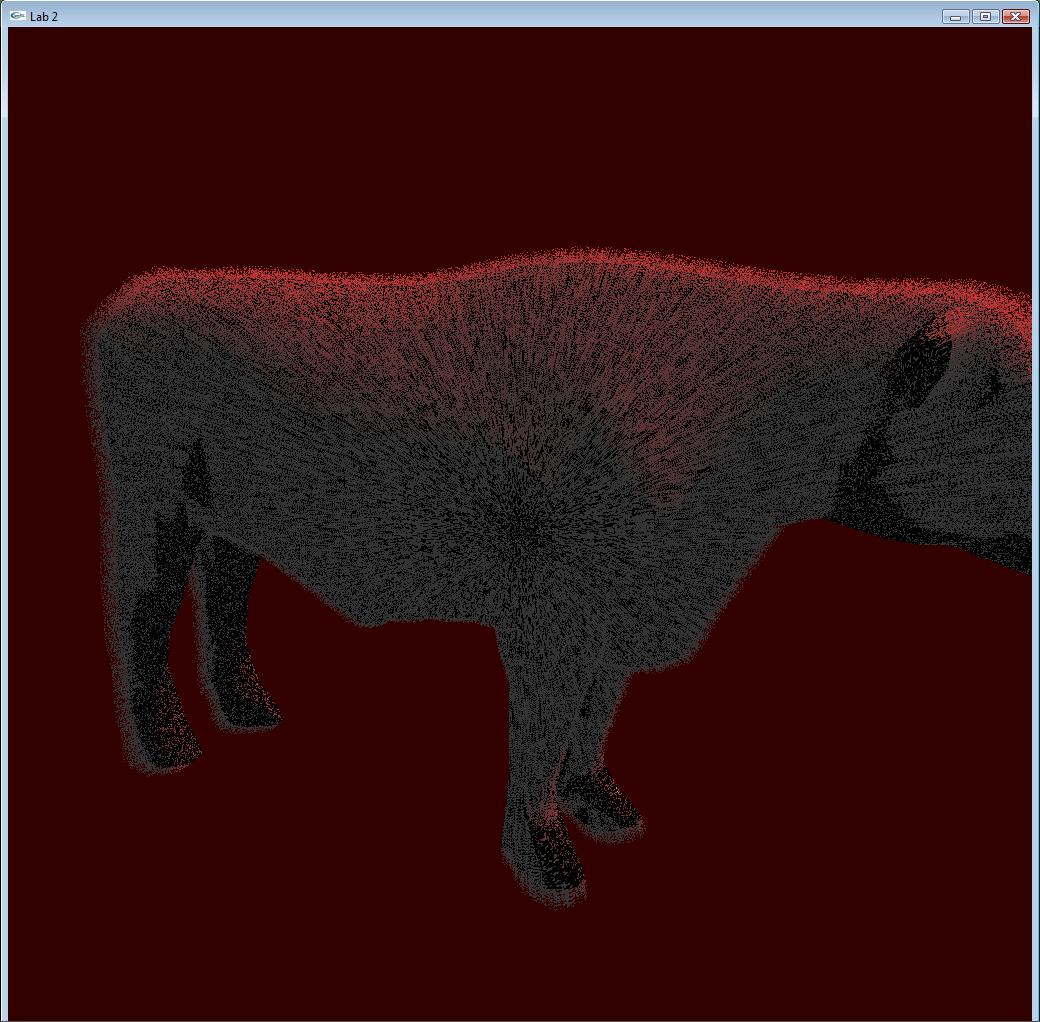
For my final project I choose to implement toon rendering: hatching and cell shading. It was my goal to make it look like my cow object looked as if it were drawn on my paper background. I did so by varying the frequency a wave form. By assigning a gray scale value from 0 to one in the 's' direction of the texture space and setting the texture parameters to gl repeat we can attain a sawtooth wave. From the sawtooth wave we can transform it into a triangle wave and using the step function on the triangle wave a square wave can be use to simulate pencil strokes. To draw pencil strokes perpendicular all that is needed is to sample the texture in the 't' direction performing the same calculations. Once I had the strokes to simulate lighting I varied the line widths, making them smaller in lighter areas and thicker in darker. By altering the line width with respect to the light intensity calculated using the light direction and normal. For better results I limited the perpendicular line strokes to only be drawn when light intensity is less than 0.3 and to not draw any lines when the light intensity is greater then 0.9 this yields more defined shadow/lit areas. To top it off I slapped on a silhouette shader to define the outline of the cow. Picture 1 illustrates the final results of my hatching. To give it transparency (the drawing effect) I turned on back face culling and killed pixels with a color value > 0.5 leaving only the black lines behind.
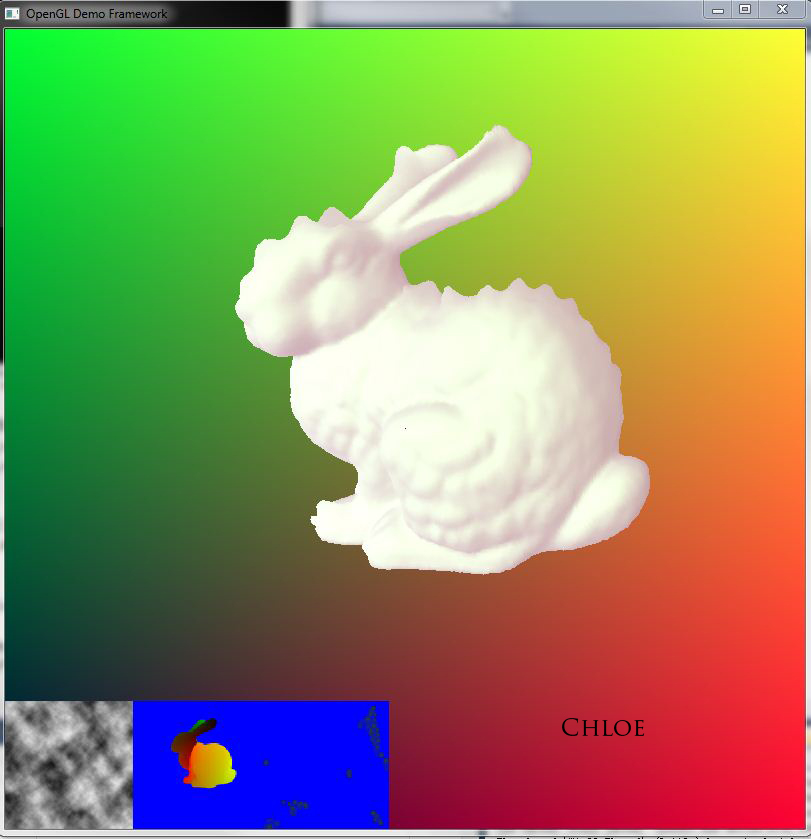
Displacement mapping
I did the displacement mapping as the final project.
It is a cute idea which can make some high resolution mesh details relatively easier to achiveve. AMD provides a software which can generate this process and output the displacement map and the corresponding normal map (Unfortunately, I failded to read the displacement map they provided...).
So I tried to bypass this process and use an arbitrary displacement map. But the problem is that there may exist some displacement discontinuity on mesh seams, i.e bunny ears. Also, It's necessary to recompute the mesh normal based on the displacement map and the original mesh normal map. I haven't got time to finish them. So, in all my result pictures, I still use the original mesh normal map.
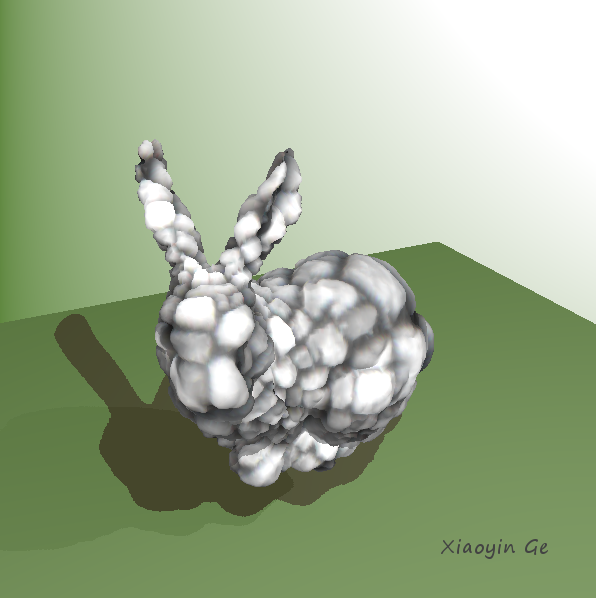

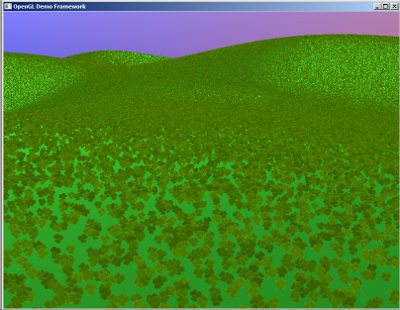
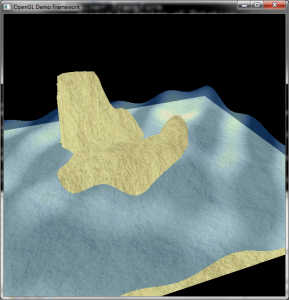
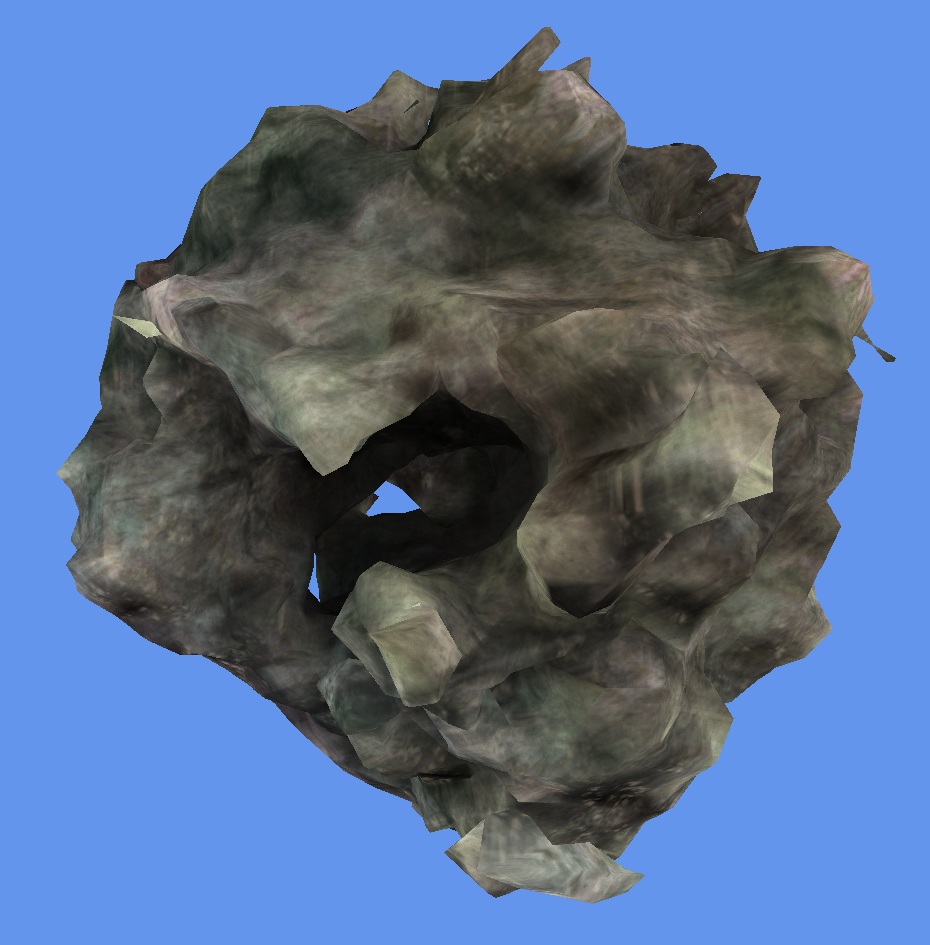
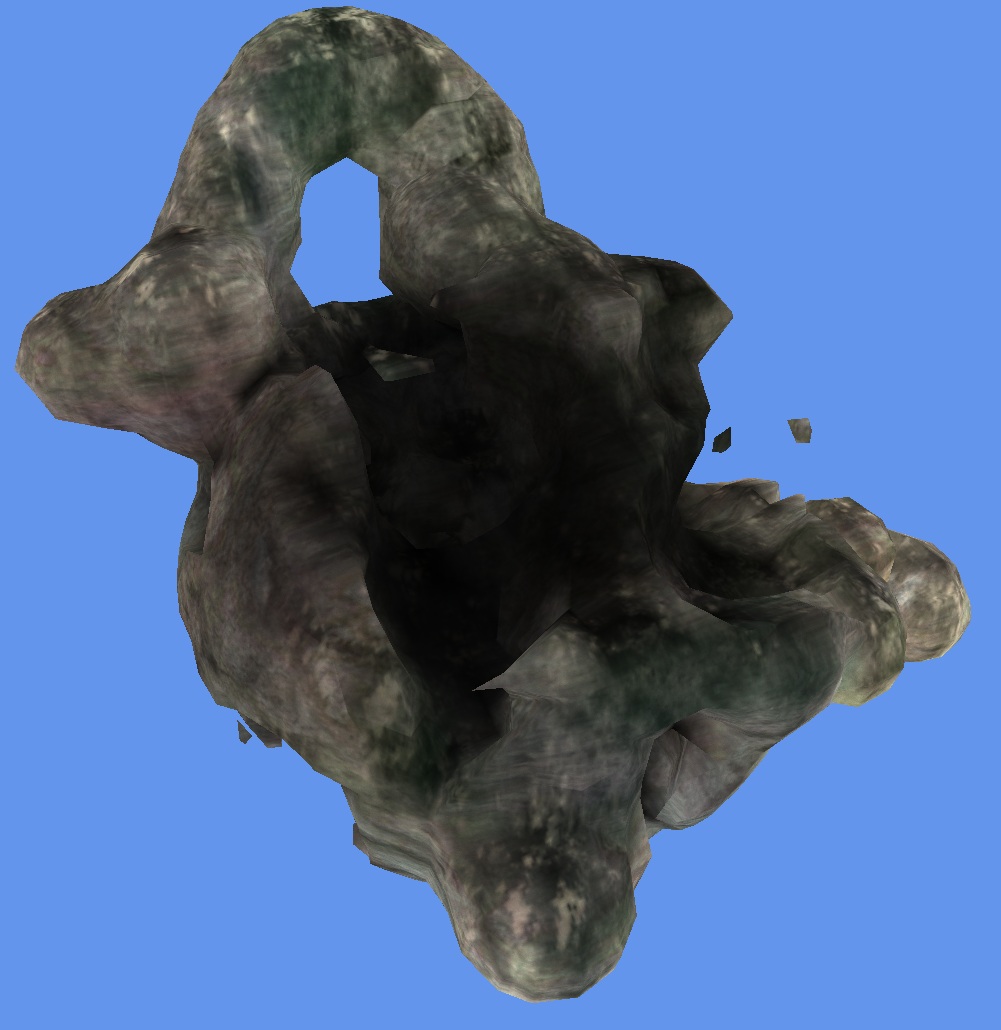
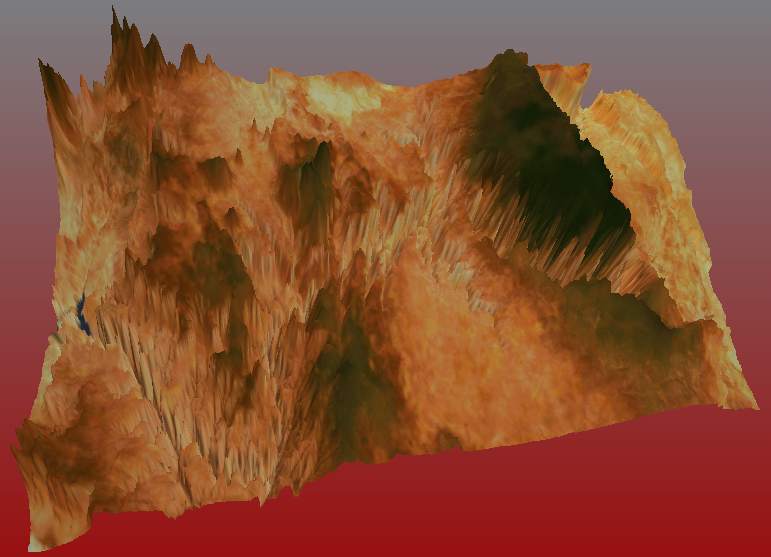
Volume Terrains
The projects main goal was to generate procedural volume terrains, and then perform indirect volume rendering using marching cubes, rendering the final mesh. I also added real time modification of the volume, allowing users to paint their own volume terrains. To render the mesh I used the calculated position and normal vectors to create UV coordinates and weights for tri planar texturing. I used 11 textures in total, 3 diffuse textures, 3 ambient occlusion maps, 3 normal maps, 1 diffuse detail map, 1 bump detail map. I also used the terrain volume to generate a light volume to add ambient occlusion to the final model.
Displacement Mapping Painting
In my final project I explored both extending the 3D paint application with displacement mapping and applying displacements maps to flat mesh surfaces. Overall I really enjoyed learning about displacement mapping and found it a very interesting topic that I hope to look more into, specifically things like layering with displacement maps and control maps. After finishing the project and seeing the other presentations my biggest regret was not implementing a tessellation shader to get better performance, but I also hope to add that to my project sometime in the future.
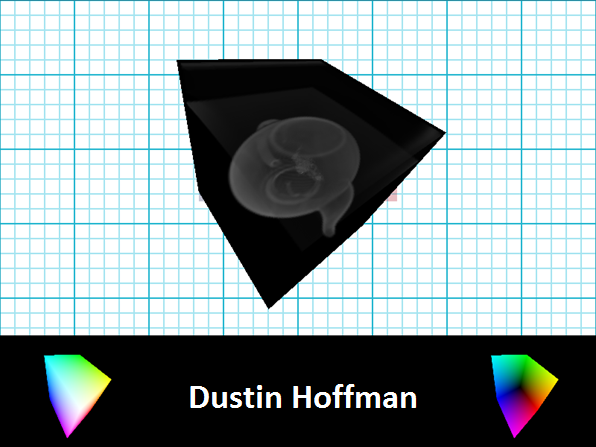
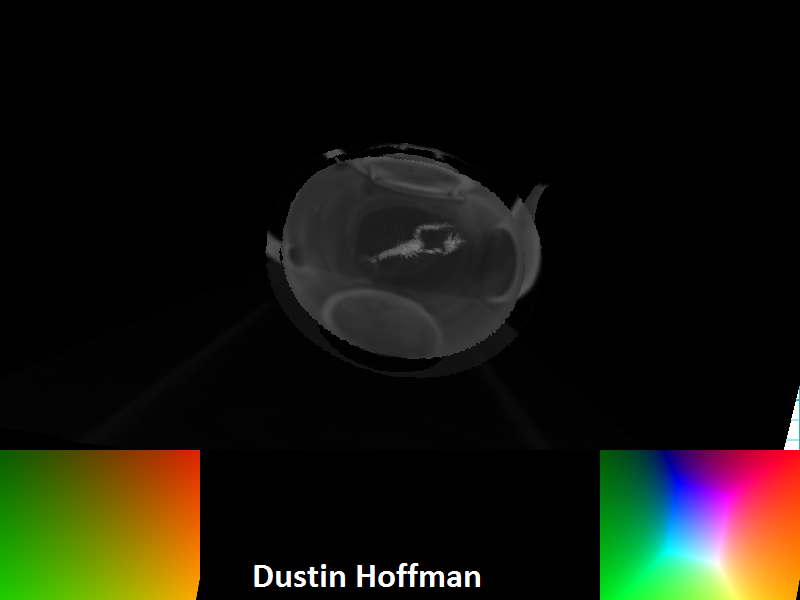
Volume Rendering
My project explored some basics of using the ray casting technique for rendering volume maps. The technique I used was to first create a unit cube to use as proxy geometry. This cube was first rendered with the color being the cubes coordinates (mapped into (0,0,0) to (1,1,1)) . Next, the cube was once again rendered in the same style, however the front face was culled. These two textures allowed me to create the ray direction and length for use during the ray casting. During the ray casting step, the color, being sampled from a 3D texture, was accumulated until the a channel reached 1 or the end of the cube was encountered. An example of this can be seen in the first sample image. In the second sample, simple surface detection was employed to 'remove' the outer shell of the tea pot. The technique used was to detect entering and exiting the tea pot by watching for the sudden shift in values being sampled from the 3D texture.
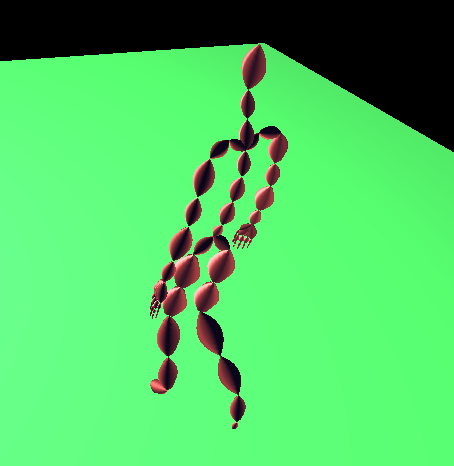
Particle Systems on the GPU
In this project I wanted to play around with particle systems at the GPU level. In the vertex shader I did all the calculations for the particles position, in the geometry shader I converted the points into a quad, and in the fragment shader I passed in the texture and played around with the texture’s alpha value. The terrain was created using peril noise. Also, I used a skybox for background.
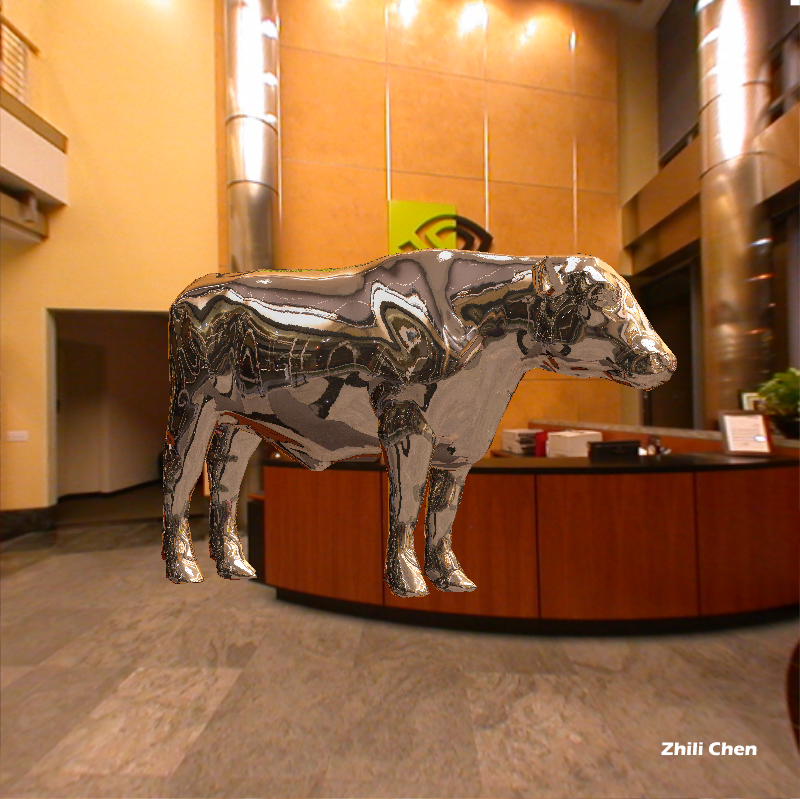
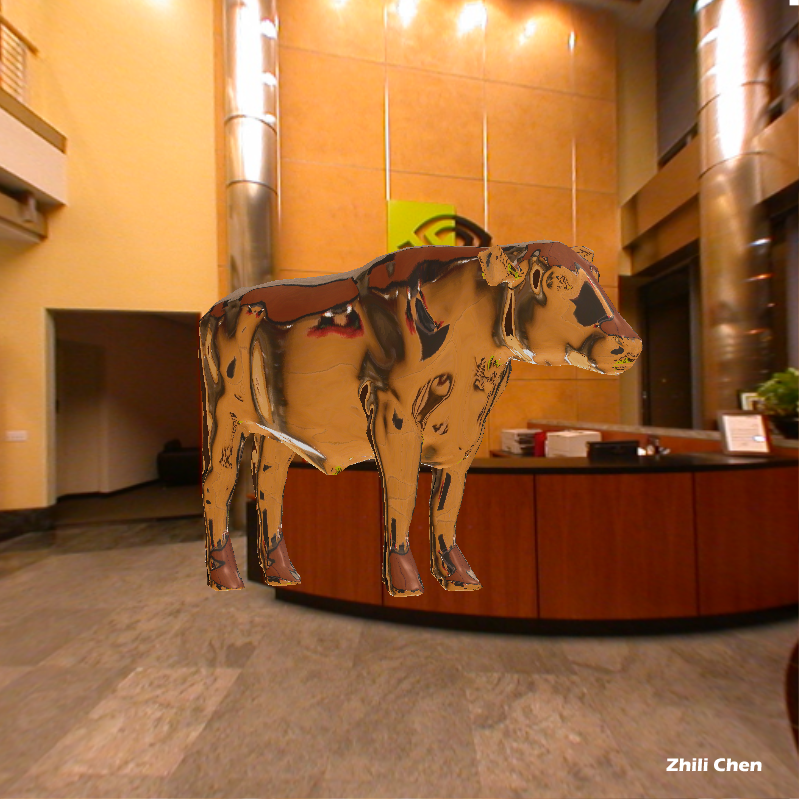
Reflection and Refraction
Reflection and refraction are realized by cube mapping. The direction from eye to the vertex in world space is interpolated and passed to fragment shader, where normal vector is sampled from high-res normal map of the model and reflected/refracted ray direction is computed according to normal direction. The reflected/refracted ray is then used as texture coordinate to sample the cube map.
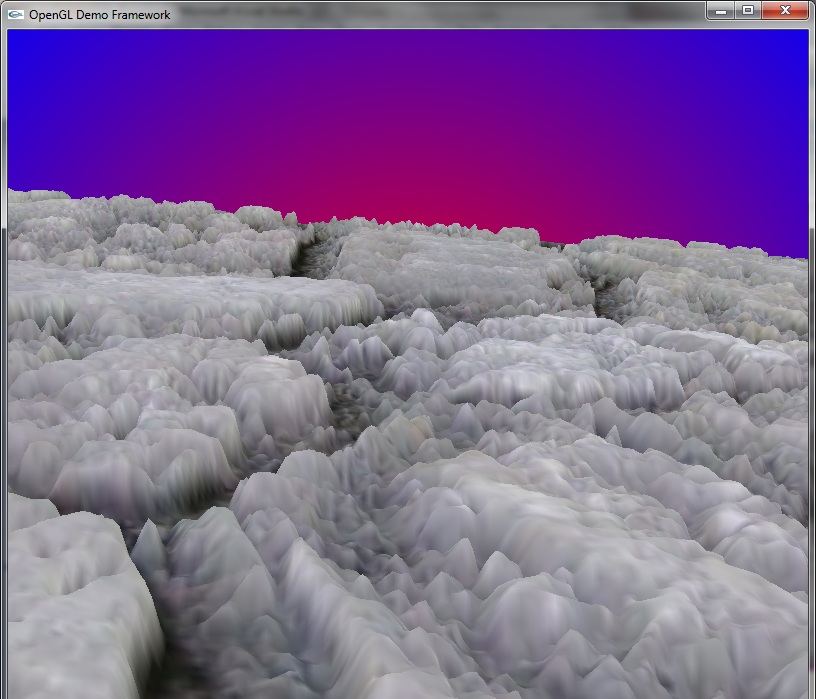
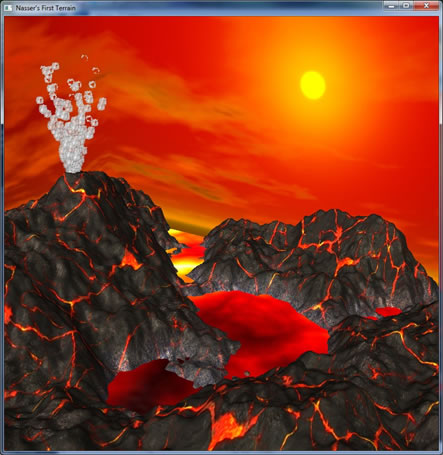
Terrain Rendering
For this lab I decided to explore terrain rendering. I did this by using a height map to obtain the height
of a particular region, and then drawing a series of triangle strips. I also used normal and color maps
to obtain a better looking image once the geometry was drawn. The normal map was used for lighting calculations, and the color map used for coloring. In the future I would like to load lower resolution maps and use the tessallation shader to create better looking terrains that can be run much faster because most of the
geometry would be created on the gpu.
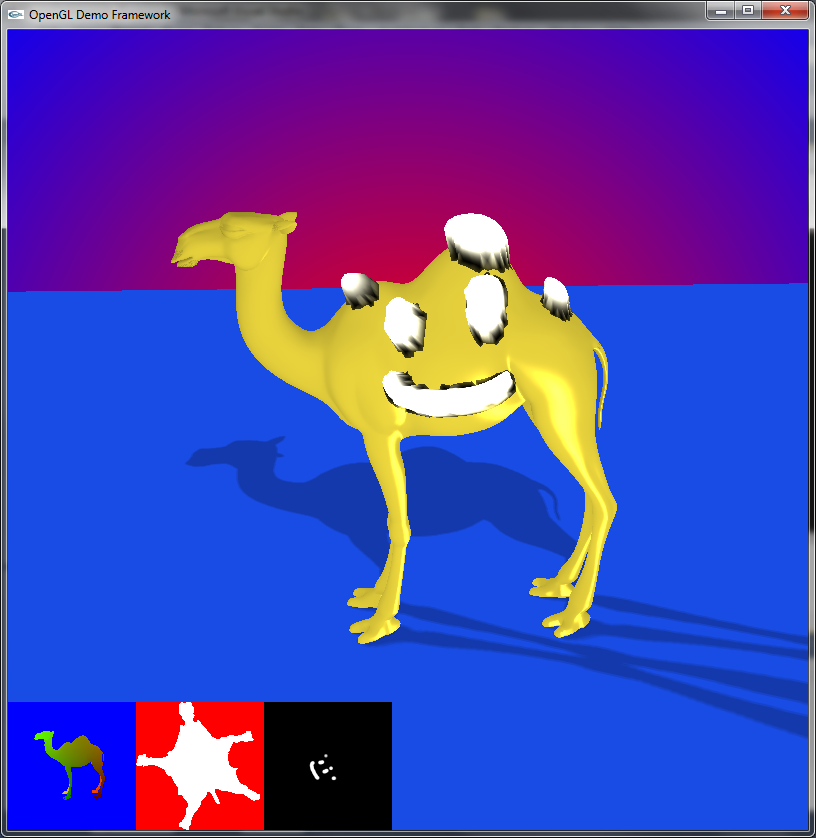
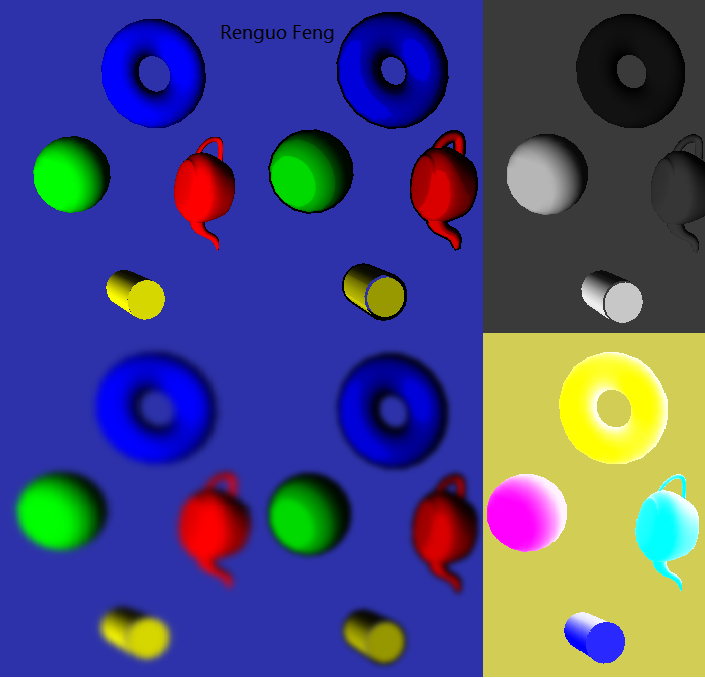
3D Painting
Post-processing Effects and Toon Shading
(movie)