Importing ProjectTemplate
Follow these steps to import the ProjectTemplate
project (or any other project) into your workspace from either a
.zip archive or a directory on your hard disk.
First download the project template, ProjectTemplate.zip, to
your computer. Click on this download
link and save the file somewhere on your hard drive where you can
easily find it. Make sure you name it ProjectTemplate.zip
and that you do not expand this archive. (If your browser
automatically expands downloaded zip archives, that's OK too. Just
pay attention to the special instructions in the following few
steps.) You may want to make a note of where you saved it.
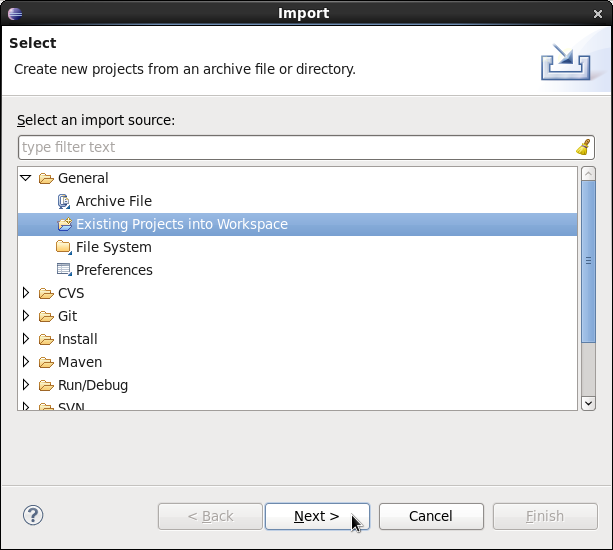
- Start by importing into Eclipse the project template. From
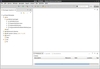
the File menu select Import...

- In the new window, expand General and select Existing
Projects into Workspace. Click Next.
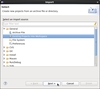
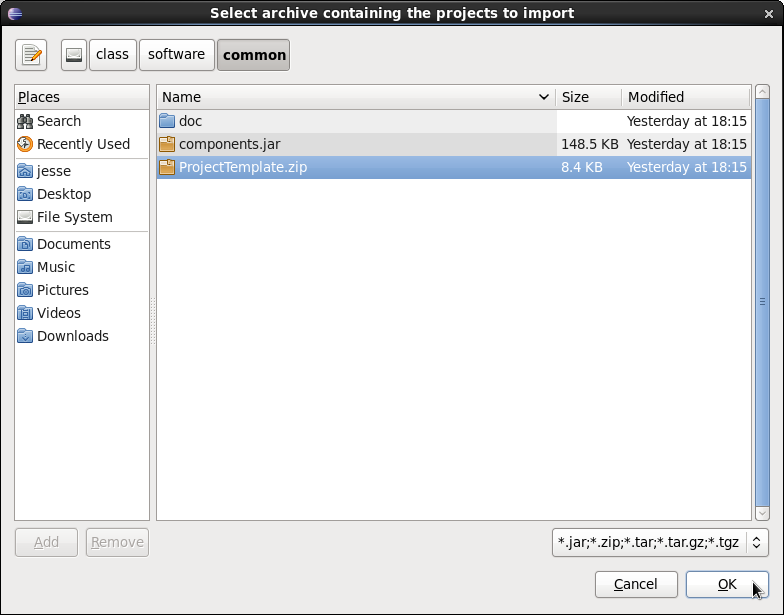
- Click on the radio button next to Select archive
file and then click the Browse... button. (If your
browser expanded the ProjectTemplate.zip archive into a ProjectTemplate
directory, leave the Select root directory radio button
selected instead.)
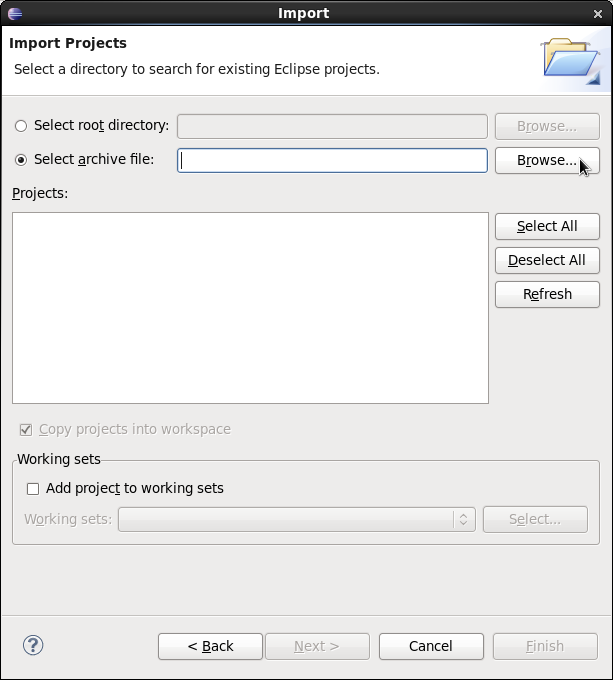
- In the file selection window, find the ProjectTemplate.zip
file
and select it. (If your browser expanded the ProjectTemplate.zip
archive into a ProjectTemplate directory, find the ProjectTemplate
directory instead.) Click OK.
- Click Finish.

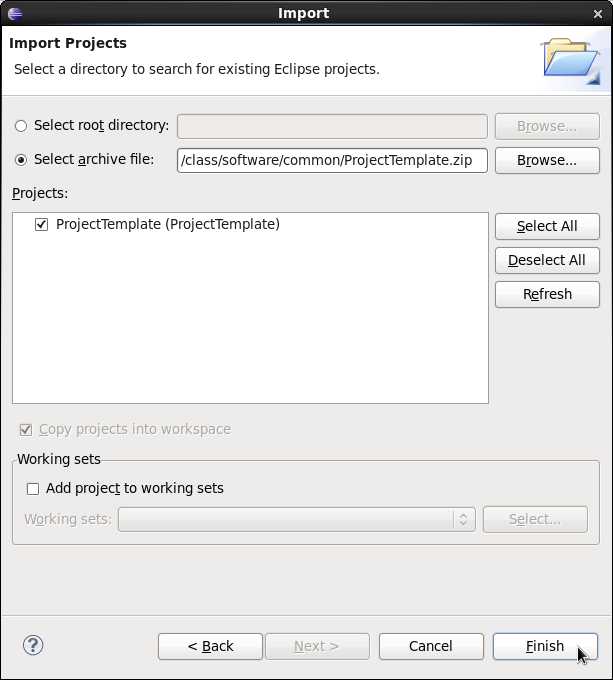
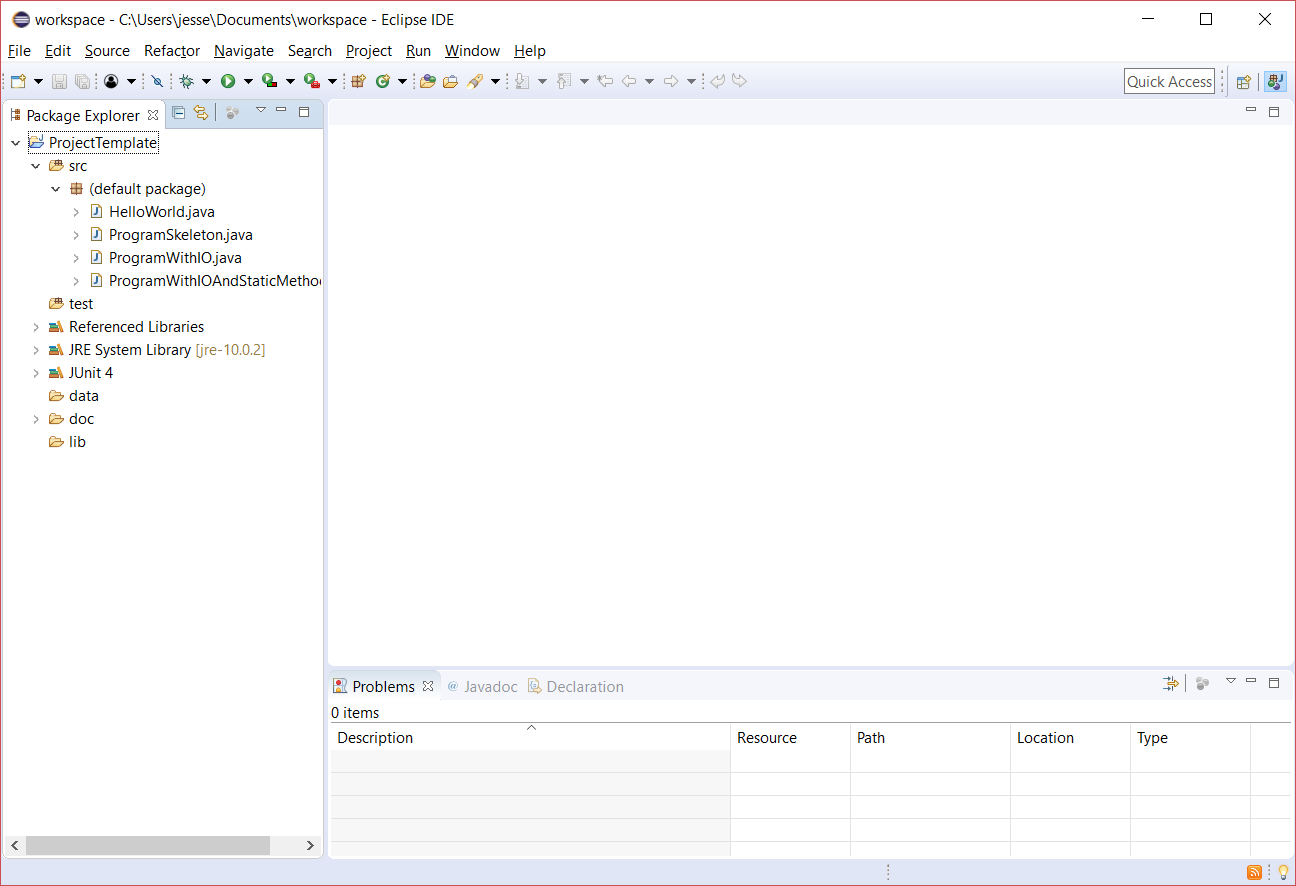
- The project template is imported into Eclipse and appears
as a new project called ProjectTemplate in the Package
Explorer view. You can expand a few entries to see what kind of
structure the new project has.