Lab: Environment Setup on Your Own Computer
This document will guide you through the various steps needed
to set up the programming environment for CSE 2221/2231 on your own
computer. With only minor modifications these steps will work
equally well on all popular operating systems (Linux, Mac OS X, and
Microsoft Windows). The screen shots included here are all taken on
a Windows platform, but they should be very similar to what you'll
see on different systems.
This document has been designed with a specific sequence of steps
for you to follow. Hover over the thumbnails to see the full-size
screen shots. You can also click on a thumbnail to open the
full-size screen shot in a separate window/tab. If you have any
questions or run into any trouble,
ask an instructor for help and try
to provide as much detail about what you have done, what you have
observed, and what the problem is.
It is very important that you follow the instructions
carefully and pay attention to the details. Make sure you do not
skip any steps and that you type all inputs exactly as they are
provided in this guide (including spelling and capitalization).
Downloading CSE 2221/2231-Specific Files
The following files are customized and specific to CSE
2221/2231.
- Download OsuCseWsTemplate.zip,
expand (uncompress, unzip) it in an easily accessible location you
can remember (e.g., under Windows you could expand it in the My
Documents folder). This ZIP archive contains a folder named workspace
configured for SW I & II. You will store all your Eclipse
projects in this folder.
- Download components.jar,
place it in an easily accessible location you can remember (e.g.,
under Windows you could put the components.jar file in
the My Documents folder), not inside the workspace
folder
you extracted from the ZIP archive in the previous step.
You will also need to download and install a recent distribution of the Eclipse IDE
(Integrated Development Environment). Note: An installation of a recent
Java Development Kit (JDK) is no longer necessary.
If you already have an installation of Eclipse and
the needed plugins from a recent offering of CSE 2221/2231, you
can skip directly to Final Touches. But
first make sure to read the important note here.
Downloading and Installing Eclipse
You need to download a recent release of Eclipse. If you
already have Eclipse installed from a previous class that was not
CSE 2221/2231 (e.g., from CSE 1223), you need to reinstall Eclipse
following these steps. The version you have is probably not the
correct one and it is missing the needed plugins.
In your browser, go to Eclipse
Downloads. Do not use the Eclipse Installer. Instead follow
these steps to download and install Eclipse.
Find the Eclipse IDE for Java Developers package (make sure
you do not pick the wrong package) and click on the appropriate
download link for your operating system (Windows, Mac, or Linux) and
architecture (32-bit or 64-bit). There are many other packages but
this is the one that you'll need in this class.
Once the download has completed, locate the downloaded file.
This file will be a compressed (i.e., a ".zip", or ".tar.gz") file.
Uncompress this file into the directory of your choice. It doesn't
really matter where you put the Eclipse installation folder as long
as you know how to retrieve it. You can optionally create a shortcut
of the Eclipse IDE executable file ("eclipse.exe" on Windows, or
"eclipse" on Linux, or "Eclipse" on Mac OS X) found in the directory
that is created. To start Eclipse you just double-click on the
executable file or the shortcut, but...
IMPORTANT! Do not start
Eclipse yet and read this section carefully before proceeding
with the rest of the set-up. When you start Eclipse for the
first time, it is going to ask you to specify a folder for your
"workspace". That's the folder where Eclipse will store all your
work (e.g., your Java programs). You
must enter the location on your disk of the workspace
folder you downloaded earlier (OsuCseWsTemplate.zip)
. If you don't or if you provide the wrong location, Eclipse will
silently create a new empty workspace. If that happens, you have
to switch to the correct workspace. There is no way of "fixing"
a default empty workspace to behave like the one we use in the
class.
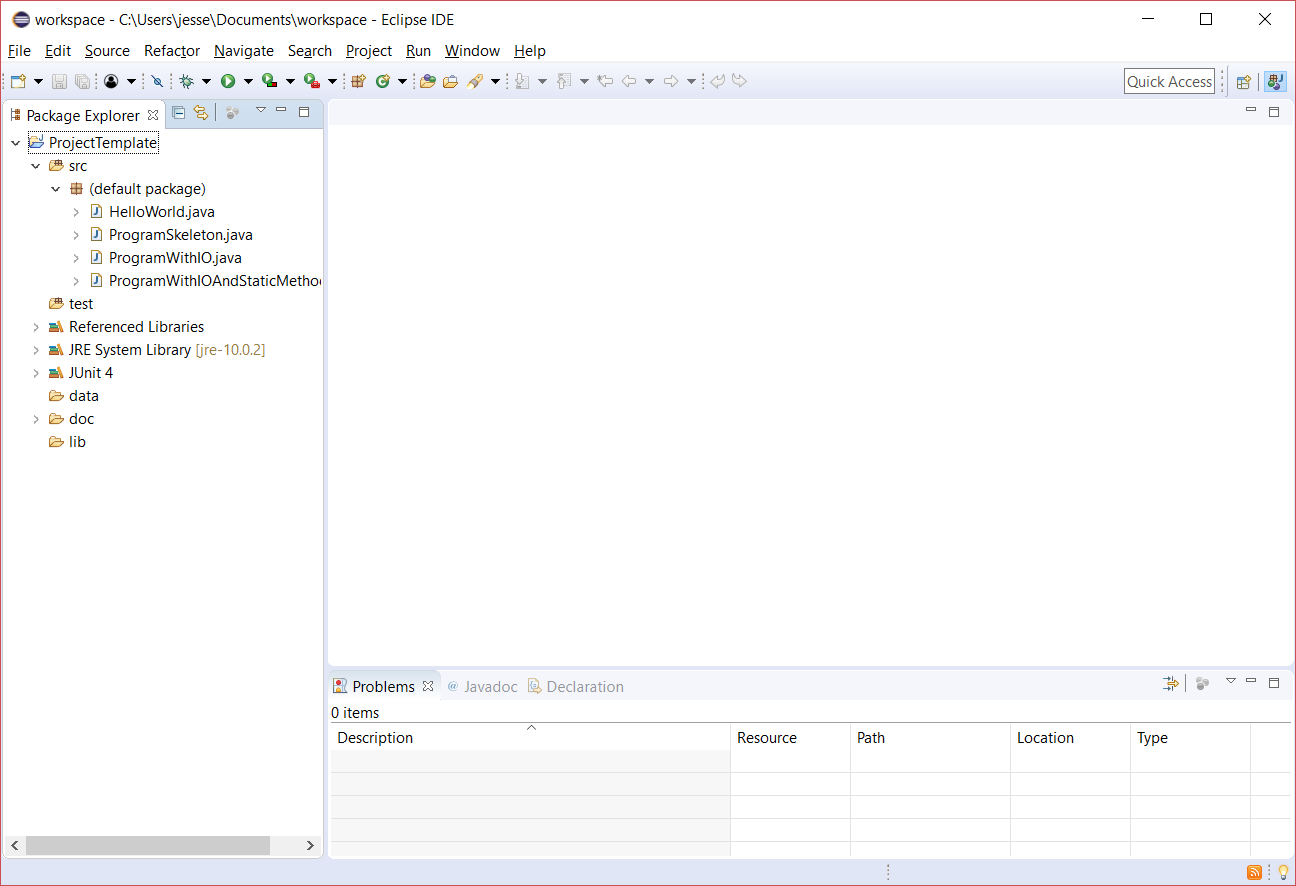
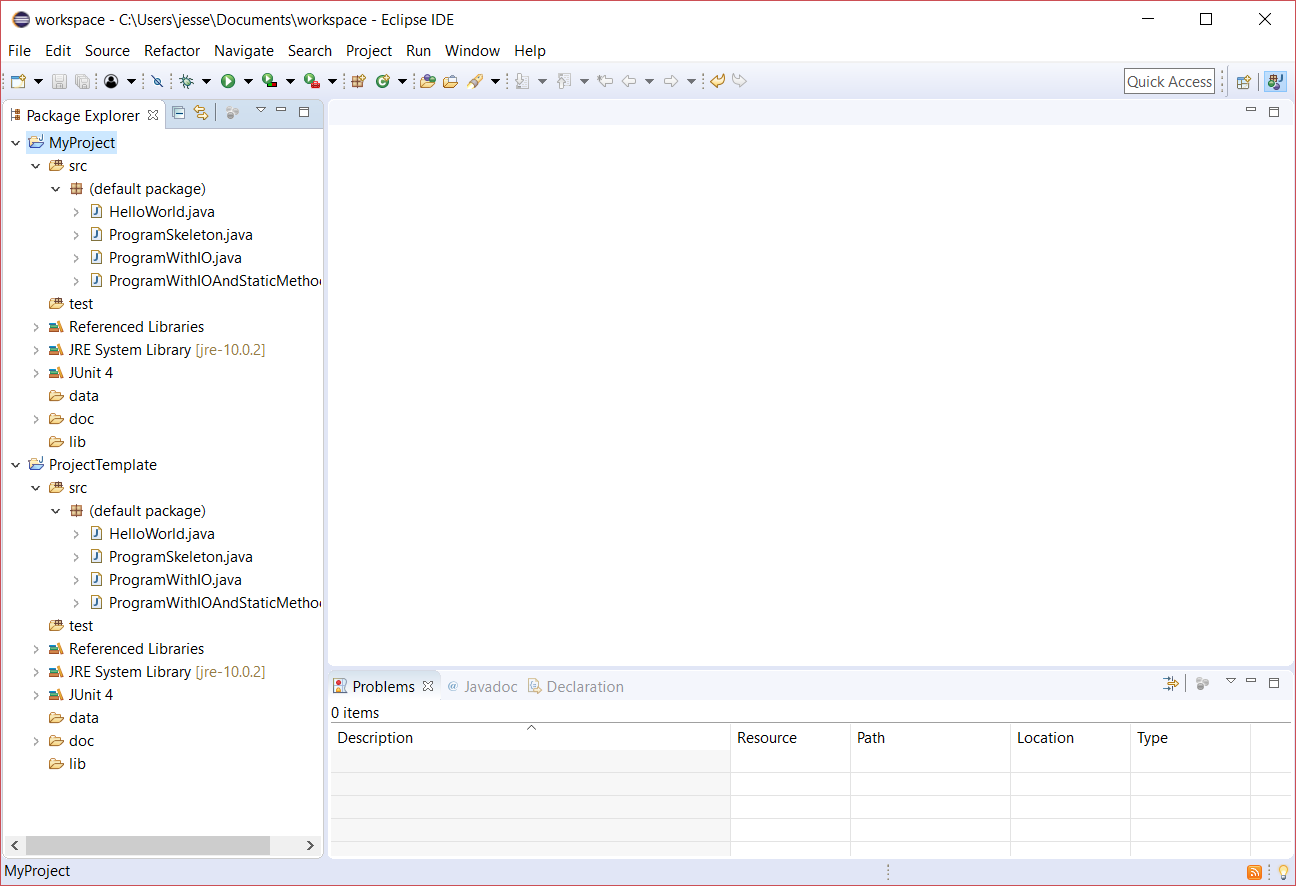
It is easy to check whether you have opened the
correct workspace. Eclipse window should look like this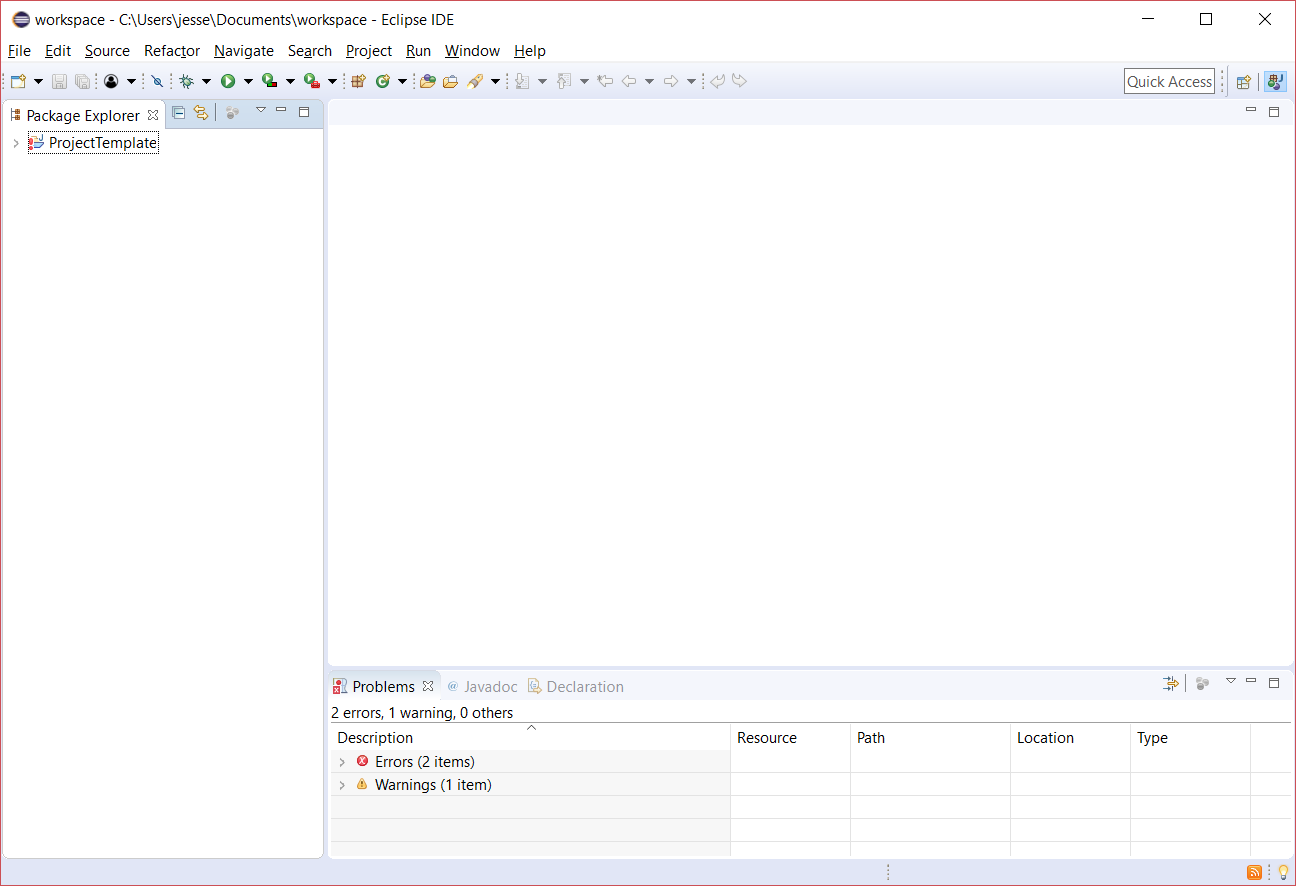 . Specifically, if you do
not see ProjectTemplate in the Package Explorer tab on the left
of the window (or you see additional projects), you did not open the correct workspace.
If the workspace does not look right, you can switch to the
correct one by selecting, in Eclipse's menu, File > Switch
Workspace > Other... and then navigating to the correct
workspace folder on your disk.
. Specifically, if you do
not see ProjectTemplate in the Package Explorer tab on the left
of the window (or you see additional projects), you did not open the correct workspace.
If the workspace does not look right, you can switch to the
correct one by selecting, in Eclipse's menu, File > Switch
Workspace > Other... and then navigating to the correct
workspace folder on your disk.
One last important note before we proceed. If you
already have a workspace from a previous class (any class,
including CSE 1223 and CSE 2221/2231), you must start with a new
clean workspace from the template. Do not reuse workspaces
across classes.
Downloading and Installing Plugins
The functionality of the Eclipse IDE can be expanded by adding
extensions known as plugins. You'll need to install four such
extensions: Checkstyle, SpotBugs, Subclipse,
and Eclipse Web Developer Tools.
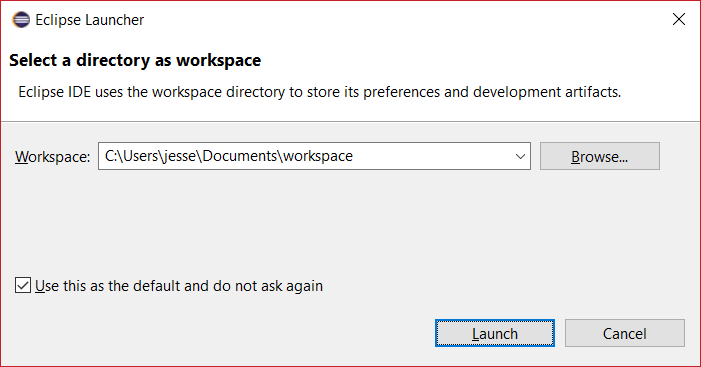
To install new plugins you need to start Eclipse. The first thing
Eclipse needs to know is where you want to store your work (e.g.,
your Java programs). Eclipse calls this directory a workspace.
Enter the location on your disk of the workspace
folder you downloaded earlier. You may click on the checkbox Use
this as the default and do not ask again, if you want Eclipse to
open this workspace every time you run it. Then click OK.
Once Eclipse is finished loading, it will open the window where you
will usually find yourself from now on when you start Eclipse. A
reminder, again, that if you do not see ProjectTemplate
in the Package Explorer tab on the left of the
window, you did not open the correct
workspace.
Let's install the Checkstyle, SpotBugs, Subclipse,
and Eclipse Web Developer Tools plugins.
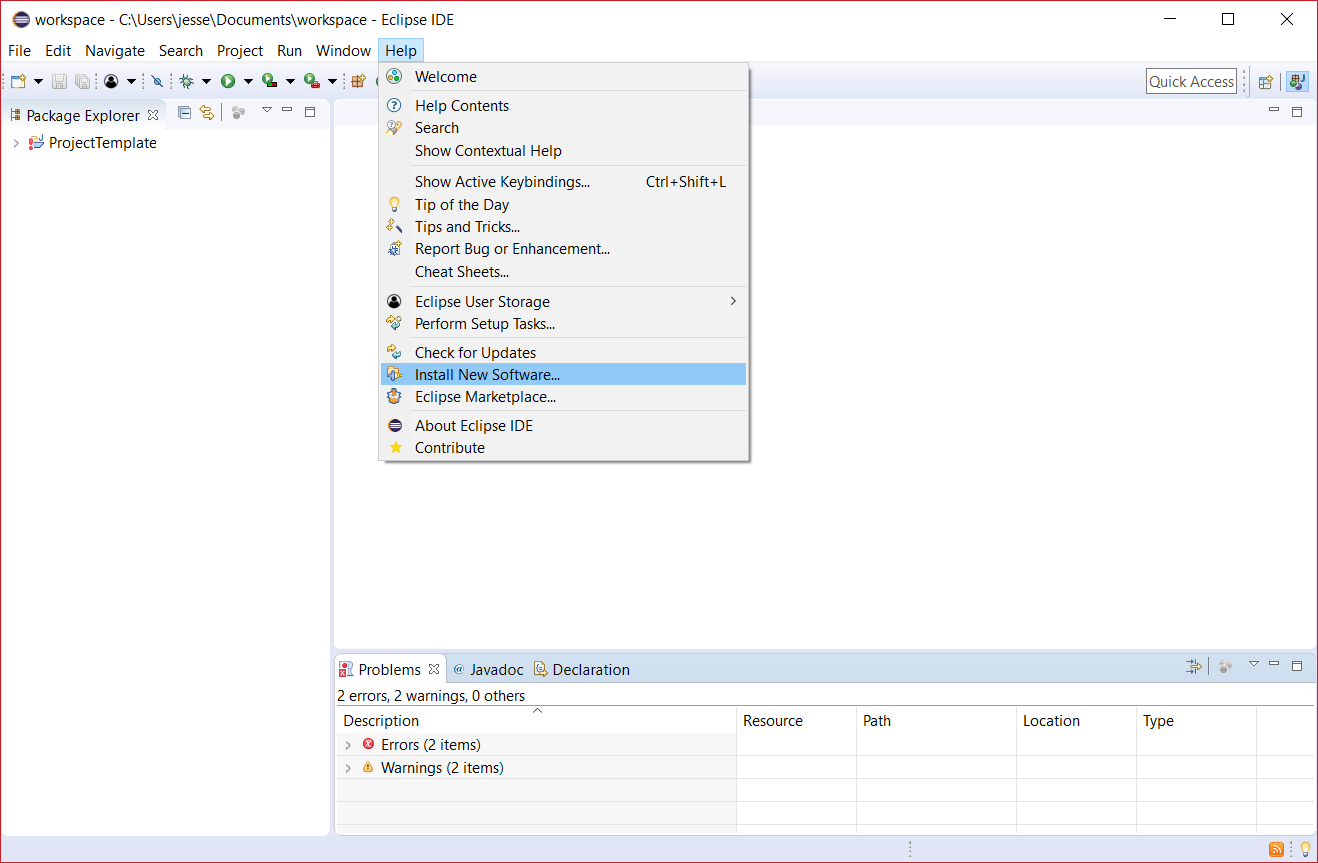
- Select Install New Software... from the Help
menu at the top of the window.
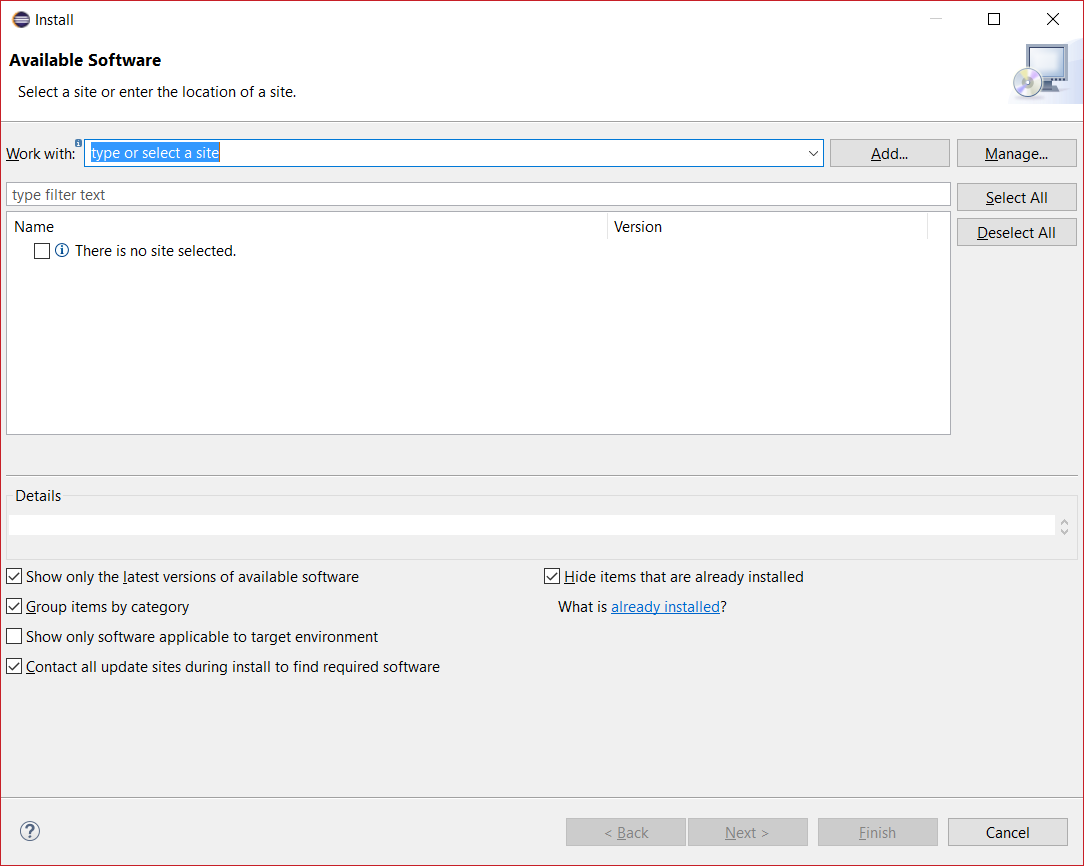
- Now you need to create a new software site to tell
Eclipse where to find the first plugin. Click the Add...
button at the top-right of the window.
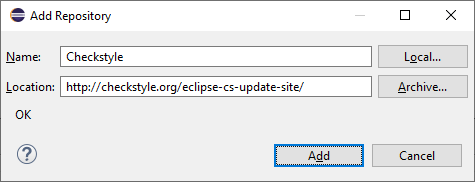
- In the dialog, for the Name enter Checkstyle
and for the Location enter https://checkstyle.org/eclipse-cs-update-site/.
Click Add.
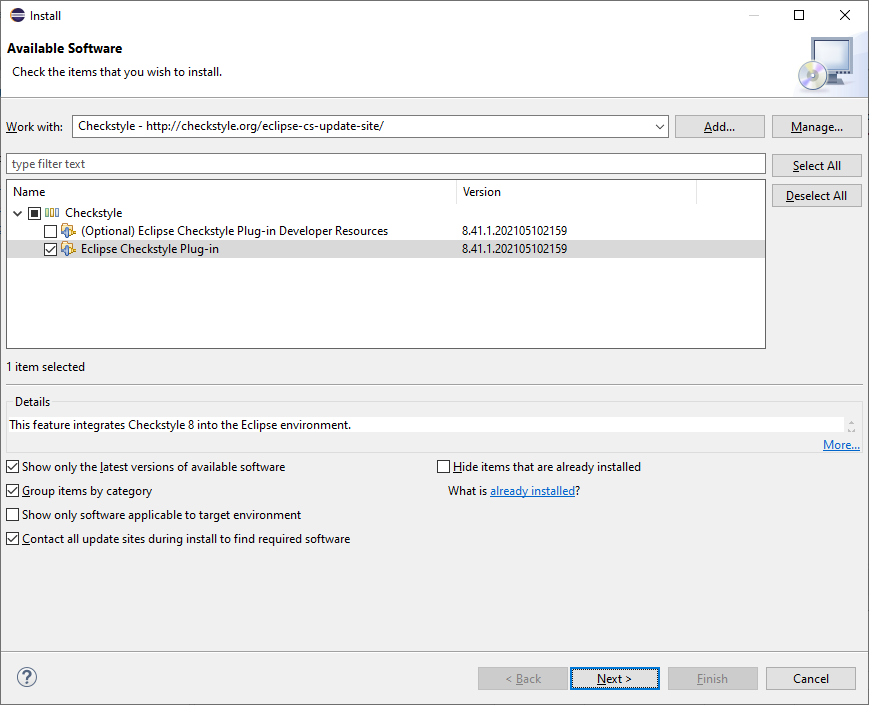
- Once the installer is done looking up the new site, it will
display a list of the plugins available. Select only Eclipse
Checkstyle Plug-in from the Checkstyle entry. Click Next.
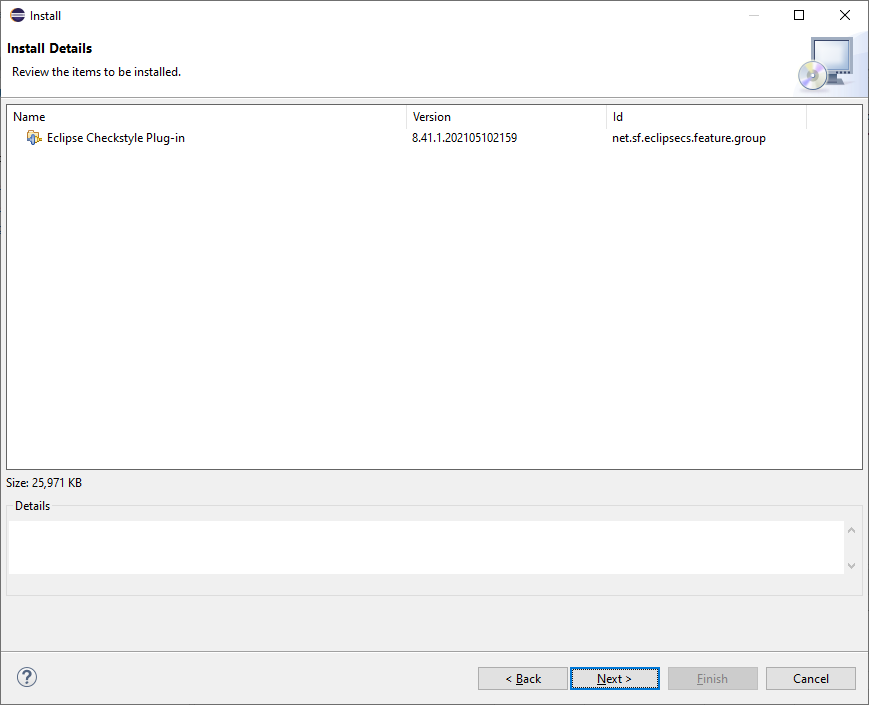
- Eclipse allows you to review your selection and to confirm
you are installing the Eclipse Checkstyle Plug-in. Click Next
again.
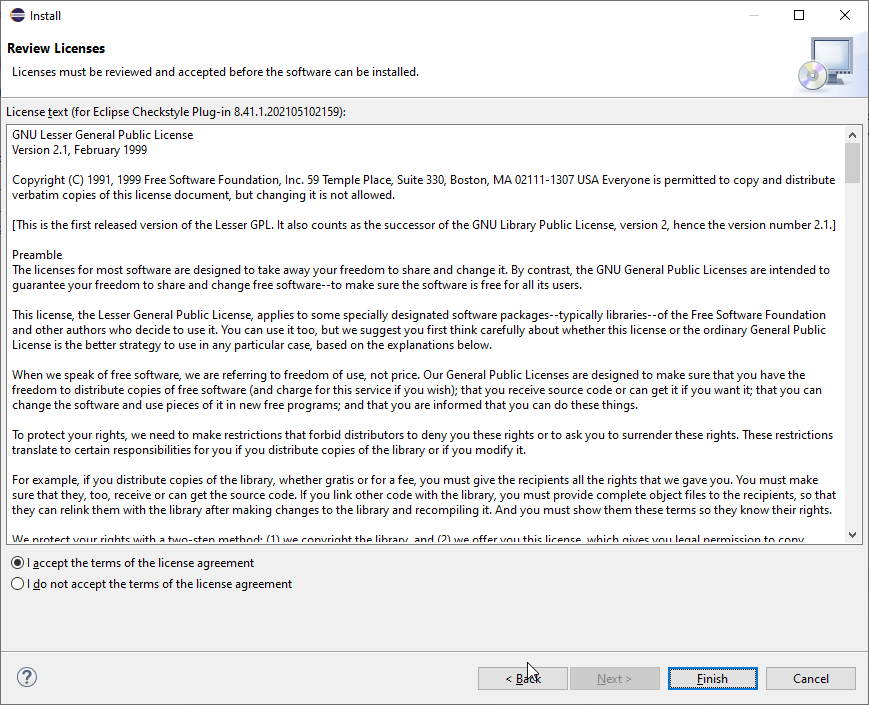
- In the next window, check the I accept the terms of
the license agreement radio button and click Finish.
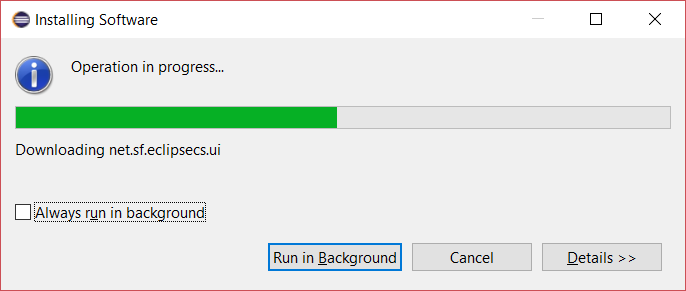
- Eclipse displays its progress with the plugin installation.
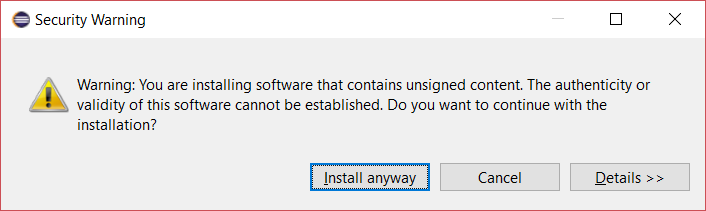
- Next you should get a security warning. If you want, you
can look at the details, but this warning is expected and you
should click Install anyway.

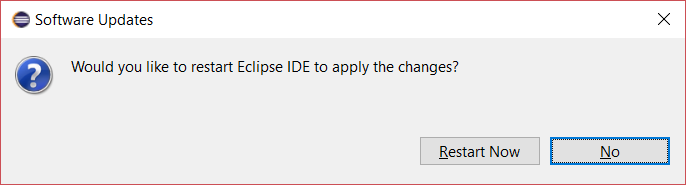
- Finally the installation of the Checkstyle plugin is
complete and Eclipse offers to restart itself. Normally you would
want to say yes, but in this case, since you need to install a
couple other plugins, click No.

- Let's move on and install the SpotBugs plugin.
Repeat steps 1 and 2 above (select Install New Software...
from the Help menu, then click the Add... button).
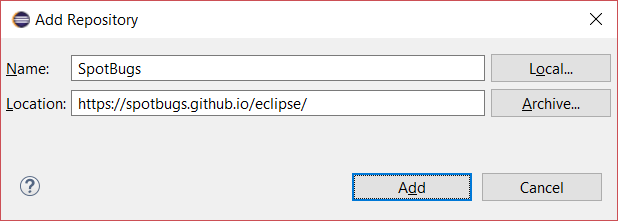
In the Add Repository dialog, enter SpotBugs for
the Name and https://spotbugs.github.io/eclipse/
for the Location. Click Add.
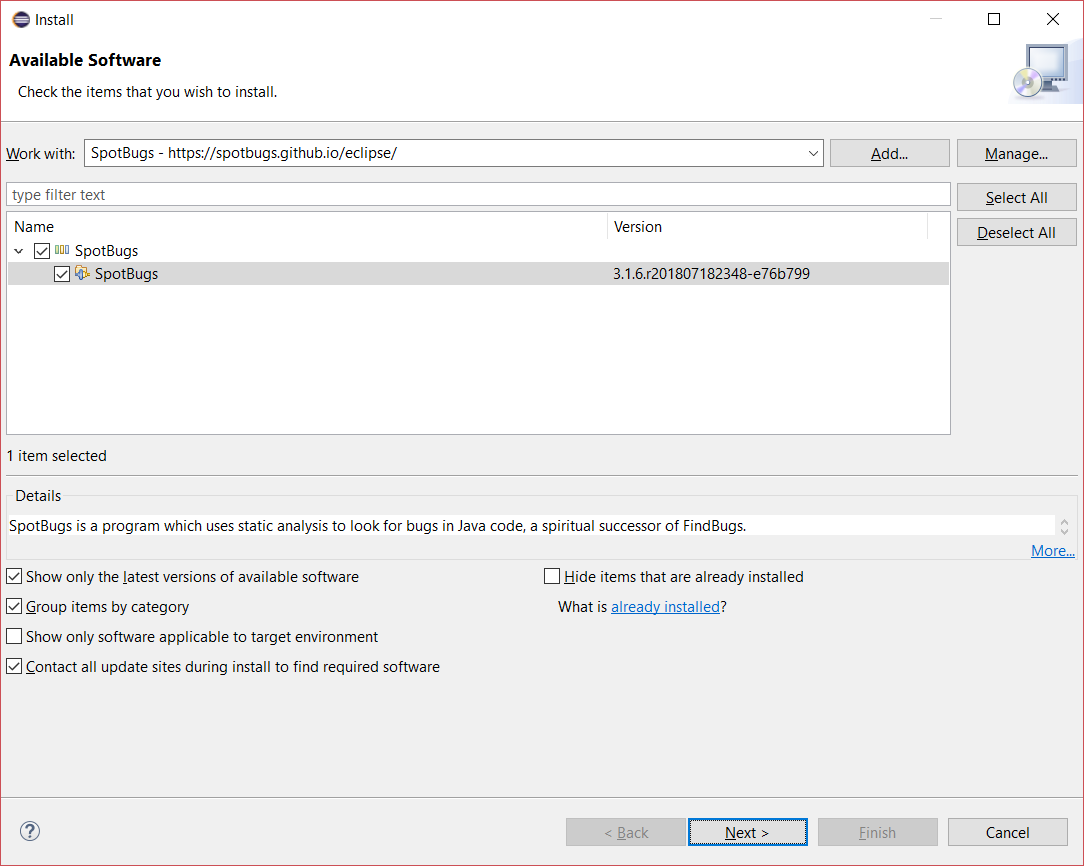
- Select the only plugin available, SpotBugs, from the
SpotBugs entry. Click Next.
- Repeat steps 5-9 above: confirm you are installing the SpotBugs
plugin, accept the license agreement, get past the security
warning, and, once more, click No when the installation of
the SpotBugs plugin is complete and Eclipse offers to
restart itself again.
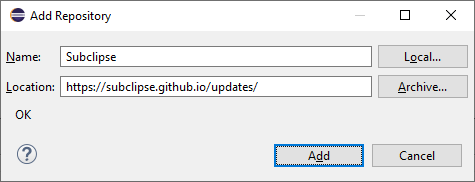
- Next we'll install the Subclipse plugin. Repeat
steps 1 and 2 above (select Install New Software... from
the Help menu, then click the Add... button). In the
Add Repository dialog, enter Subclipse for the Name
and https://subclipse.github.io/updates/
for the Location. Click Add.
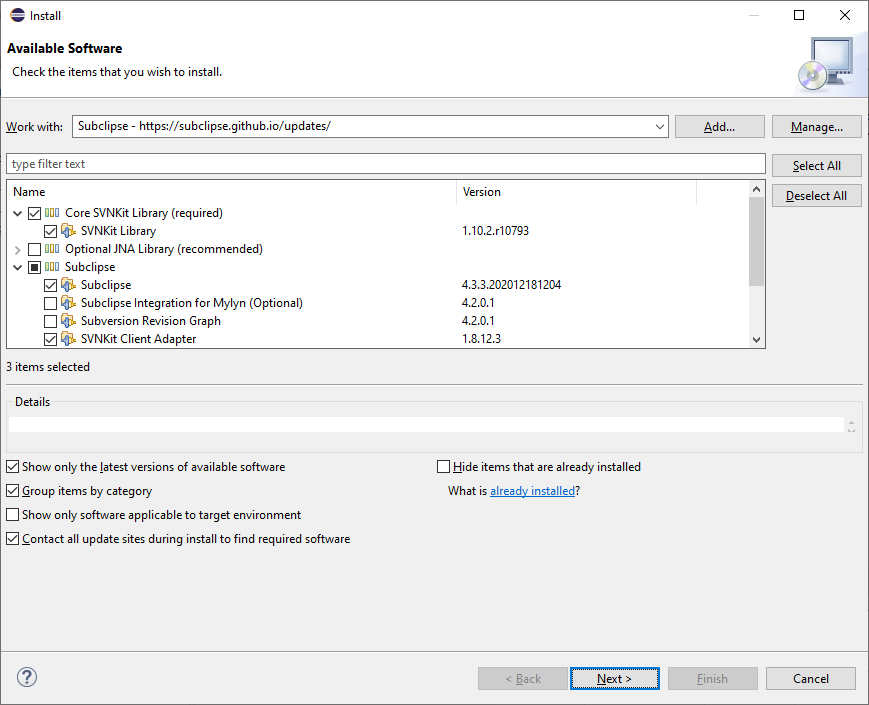
- You should see several folders, but we are only interested in two:
Core SVNKit Library (required) and Subclipse.
To avoid issues later, make sure you select only the
following features: in the Core SVNKit Library (required) folder
select SVNKit Library (it should be the only entry); in the Subclipse
folder select only the two entries Subclipse and SVNKit Client Adapter.
Before you click Next double-check in the
screenshot below that you have selected the correct entries and
only those entries.
- Repeat steps 5-9 above: confirm you are installing the Subclipse
plugin, accept the license agreement, get past the security
warning, and, once more, click No when the installation of
the Subclipse plugin is complete and Eclipse offers to
restart itself again.
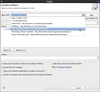
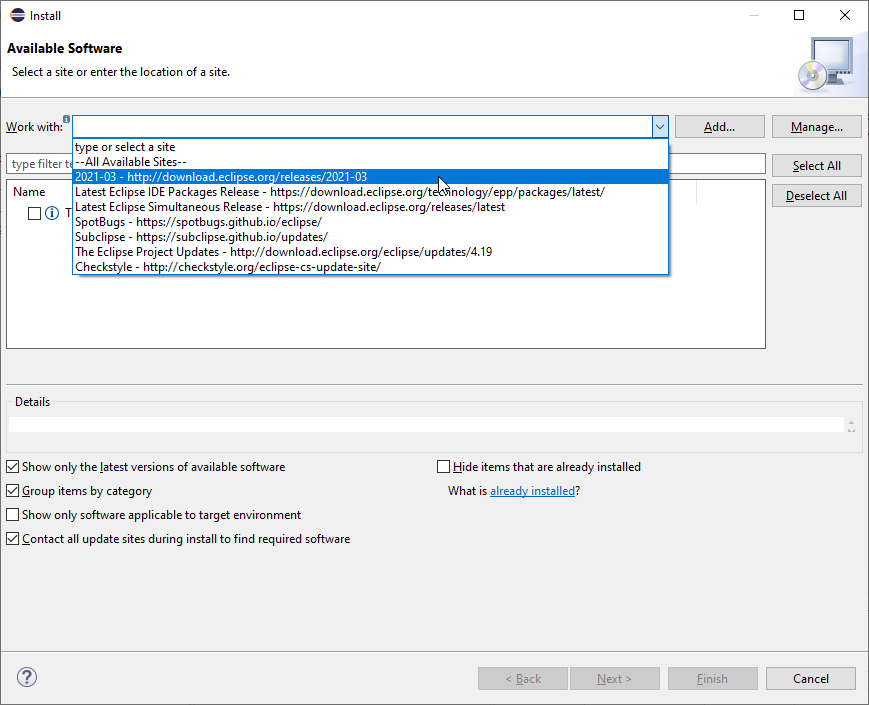
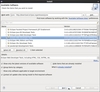
- Finally you are ready to install the last plugin, Eclipse
Web Developer Tools. Again select Install New Software...
from the Help menu. This time, however, there is no need to
add a new site. Click on the drop-down menu to the left of
the Add... button and select the 20??-?? -
http://download.eclipse.org/releases/20??-?? site. (This entry's
name depends on the specific release of Eclipse you are running.
The '??' are just placeholders that should be replaced by the
correct numbers of your release.)
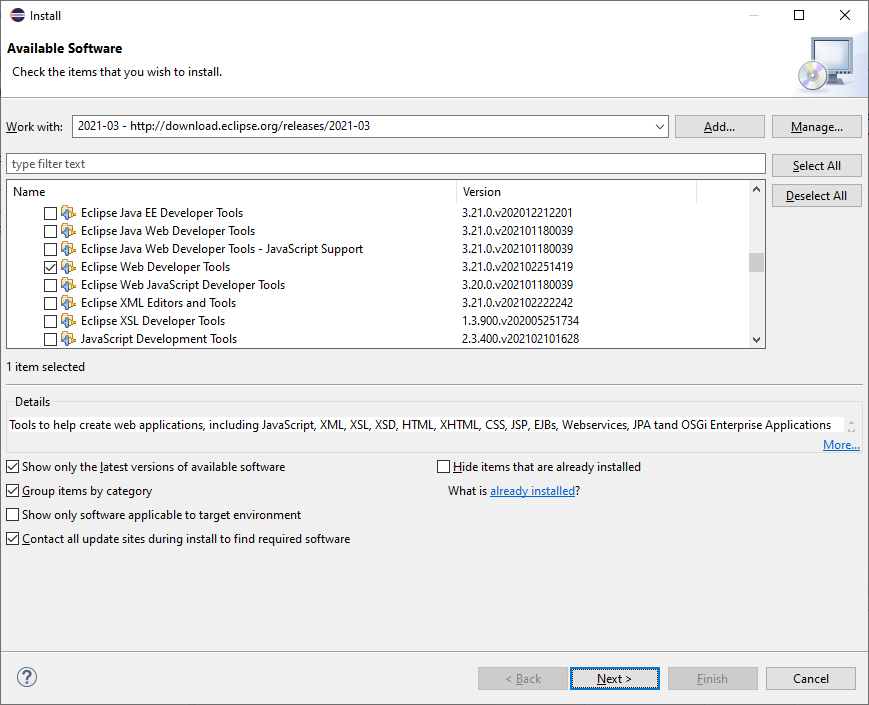
- Go to the bottom of the list of available plugins and
expand the last entry Web, XML, Java EE and OSGi Enterprise
Development.
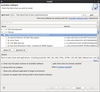
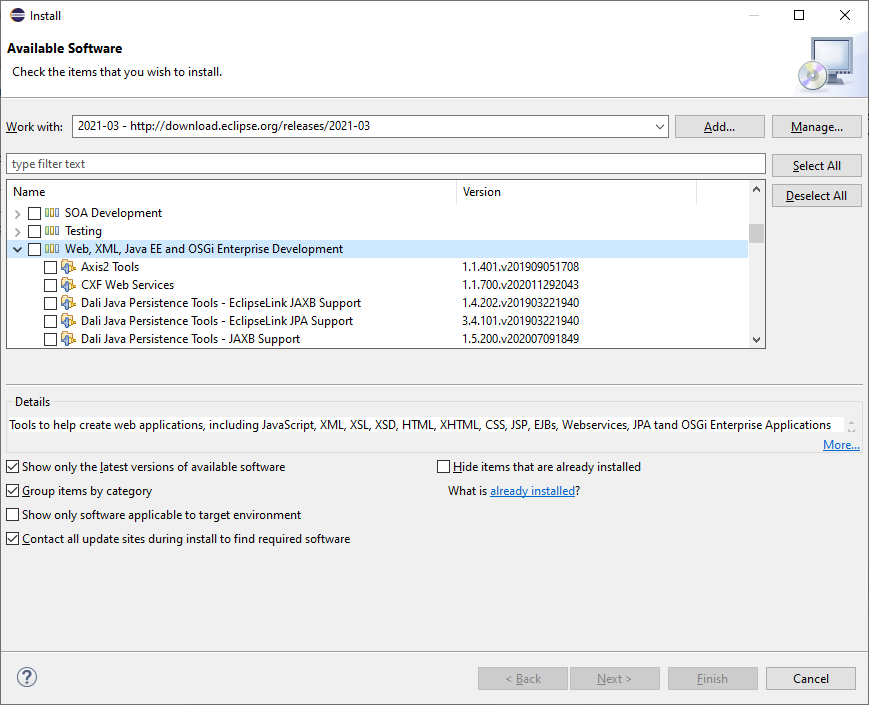
- Scroll down until you find the Eclipse Web Developer
Tools plugin and select it. Make sure you don't accidentally
select some other entry with a similar name. Click Next.
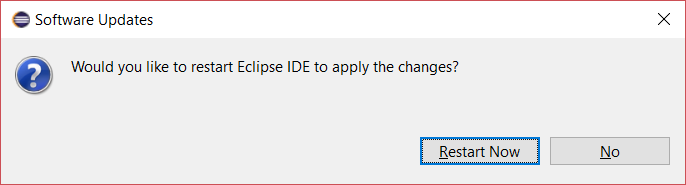
- Repeat steps 5 and 6 above: confirm you are installing the
Eclipse Web Developer Tools plugin and accept the license
agreement. Once the installation of the plugin is complete Eclipse
offers to restart itself yet again. Now click Restart Now.

This completes the installation of Eclipse and the necessary
plugins.
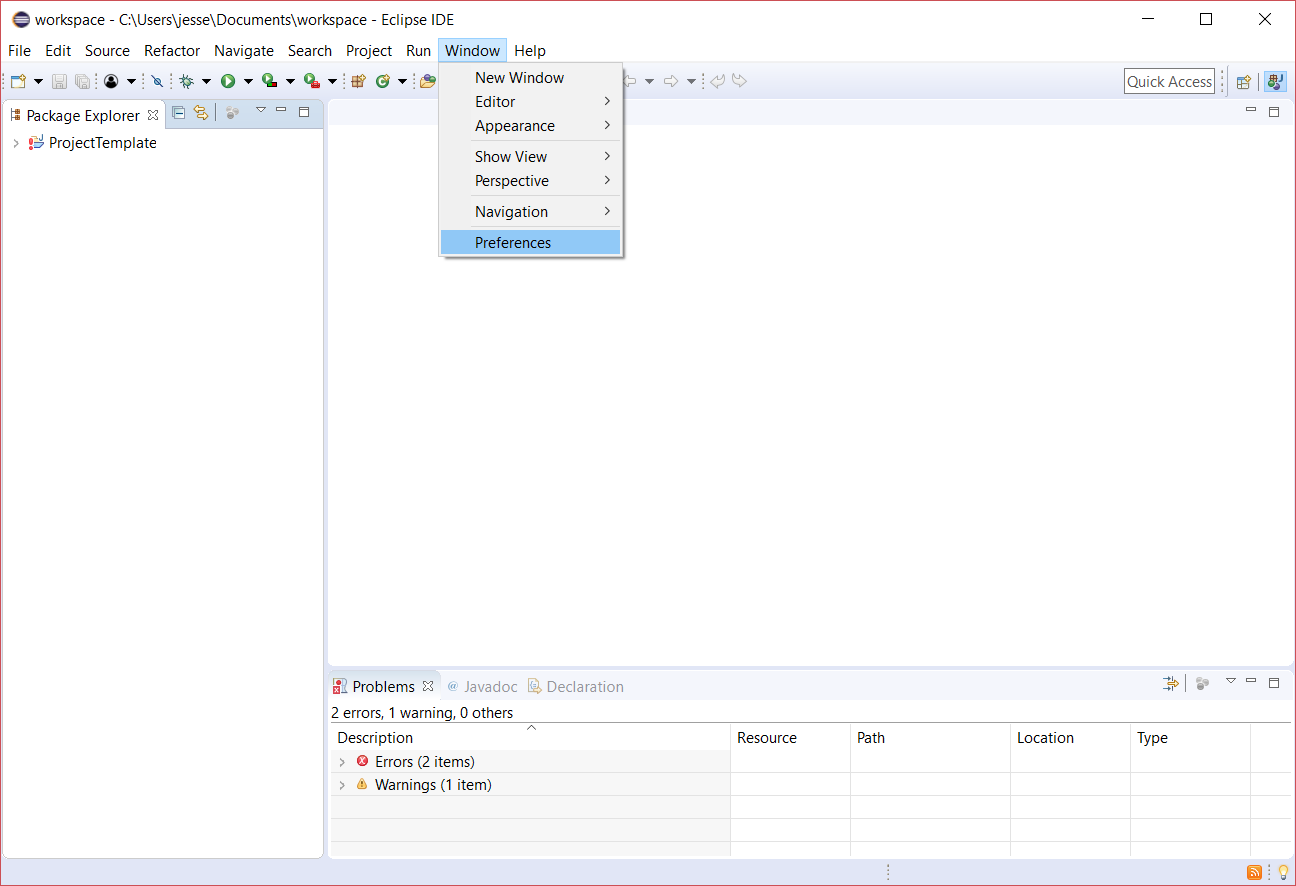
Final Touches
There are still a few things that need to be taken care of to
complete the setup. First we need to fix a few Eclipse settings.
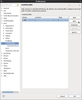
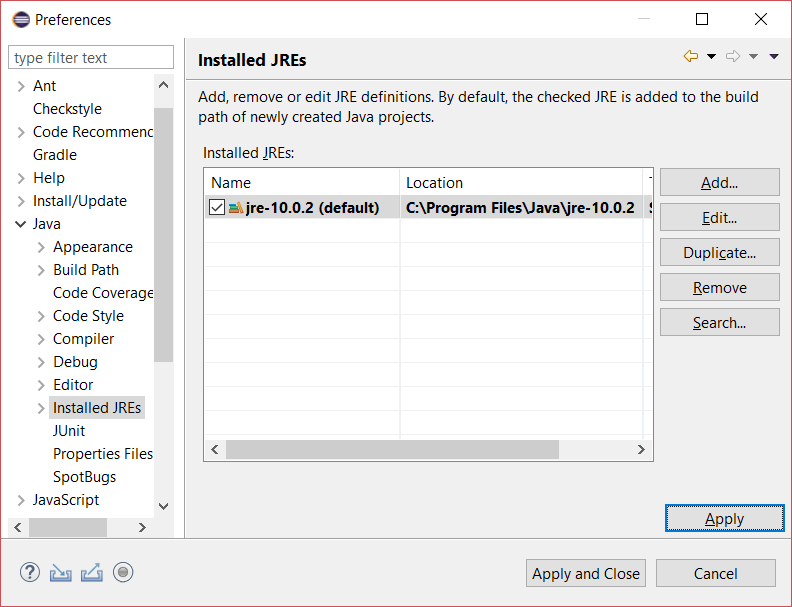
Access the preferences window by selecting Preferences from
the Window menu (on Mac OS X, Preferences is under the
Eclipse menu).

- Next select Java > Installed JREs.
- Click on the default selection (the one
with the checkmark), and click Edit...
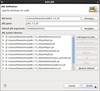
- Then enter -enableassertions
(or simply -ea) in the box labeled Default VM
Arguments and click Finish.
- Then click Apply (not Apply
and Close).
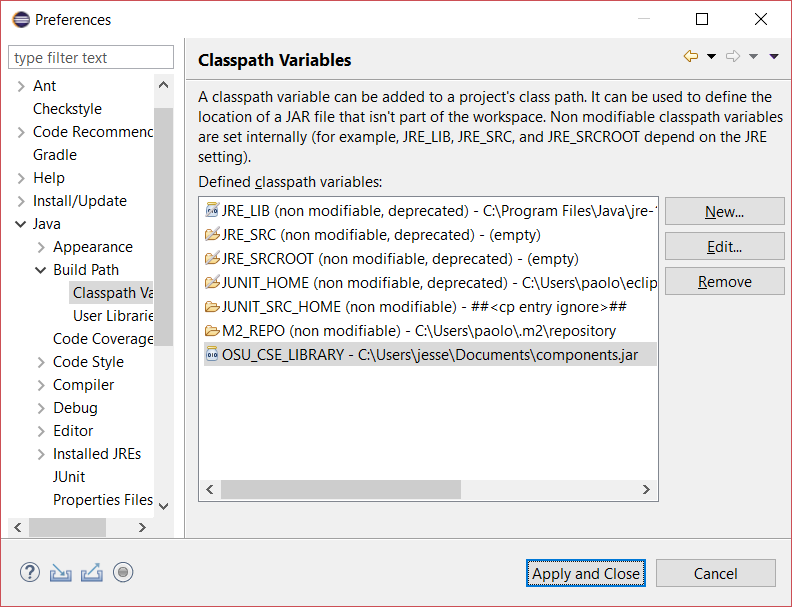
- Expand and select Java >
Build Path > Classpath Variables.
- Select the OSU_CSE_LIBRARY
entry and click on Edit...

- Set the Path to the location of
the components.jar file, either by simply typing it
in or by clicking on File... and navigating to the
appropriate location of the file on your file system. Click OK
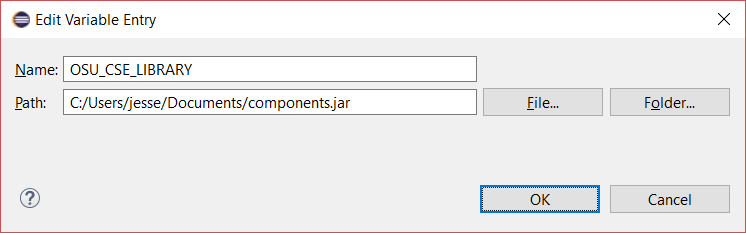 .
.
- Click Apply and Close and when
asked whether you want to do a full build now, click Yes.
 .
.
If you followed all the steps above correctly, everything should now
be set up properly and there should be no errors or warnings in the
given ProjectTemplate . (Actually there could be one
warning that the compiler compliance specified is 1.7 but a
different JRE is used. That is okay.)
Creating a New Project from a Project Template
Work inside a workspace is organized in projects. A project
is essentially a folder (usually inside the workspace folder) where
you can store your code, documentation, tests, and all kinds of
resources related to a given task.
The workspace already contains a project named ProjectTemplate
as you can see in the Package Explorer view. You can expand a
few entries to see what kind of structure this project has.
Although you can create projects directly in Eclipse, to avoid
having to spend time customizing each project, you will create new
projects by simply copying and pasting the template in
Eclipse any time you need a new project (as explained below).
Important: You should never modify this template
project! If you do accidentally modify it, or think you might have
done so, you will want to delete the project ProjectTemplate
in Eclipse and then download it anew by following these instructions.
Whenever you need to create a new project, e.g., for a lab or closed
lab assignment, you copy and paste ProjectTemplate by
following these simple steps:
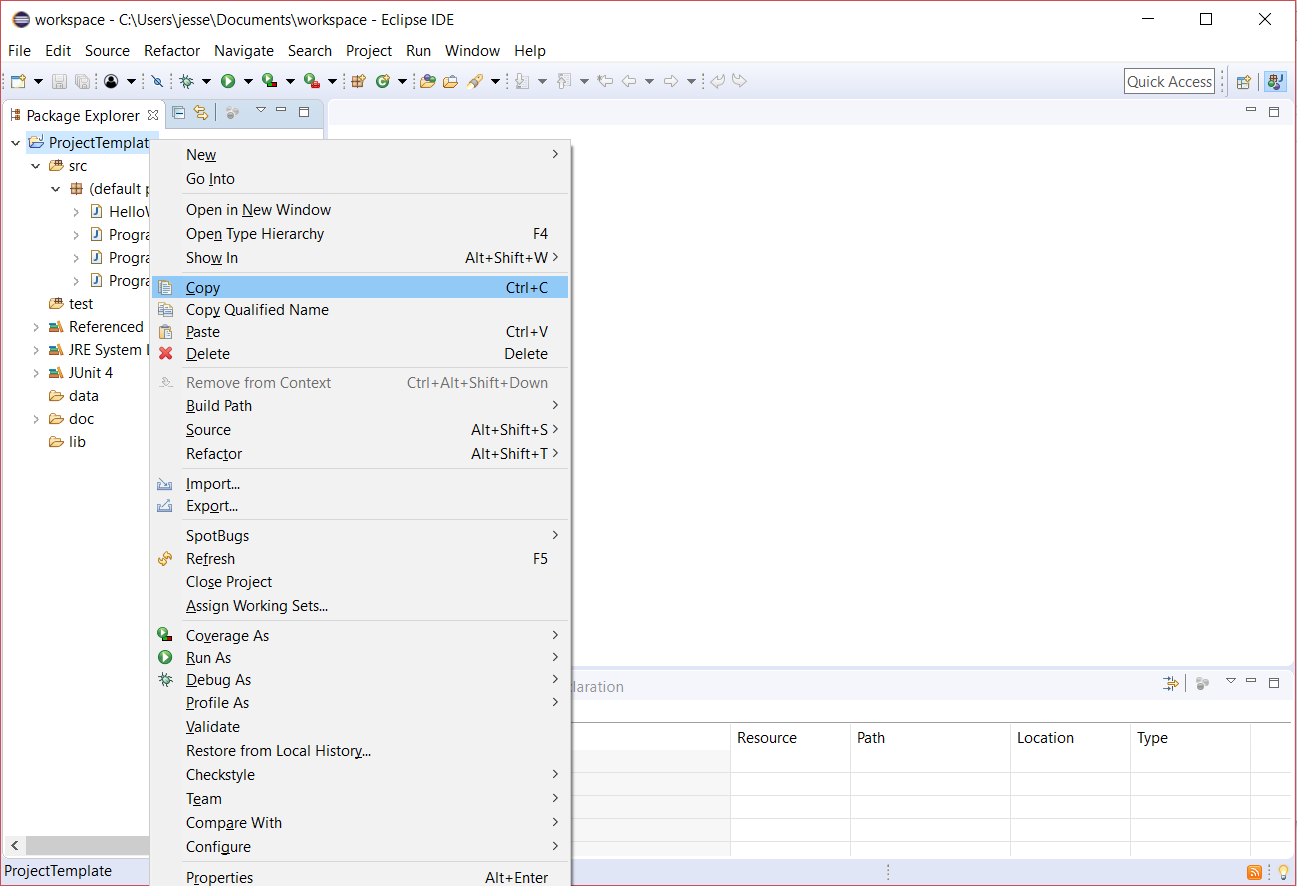
- In the Package Explorer view, click the right mouse
button with the mouse pointer on the ProjectTemplate
project entry and select Copy from the pop-up menu.
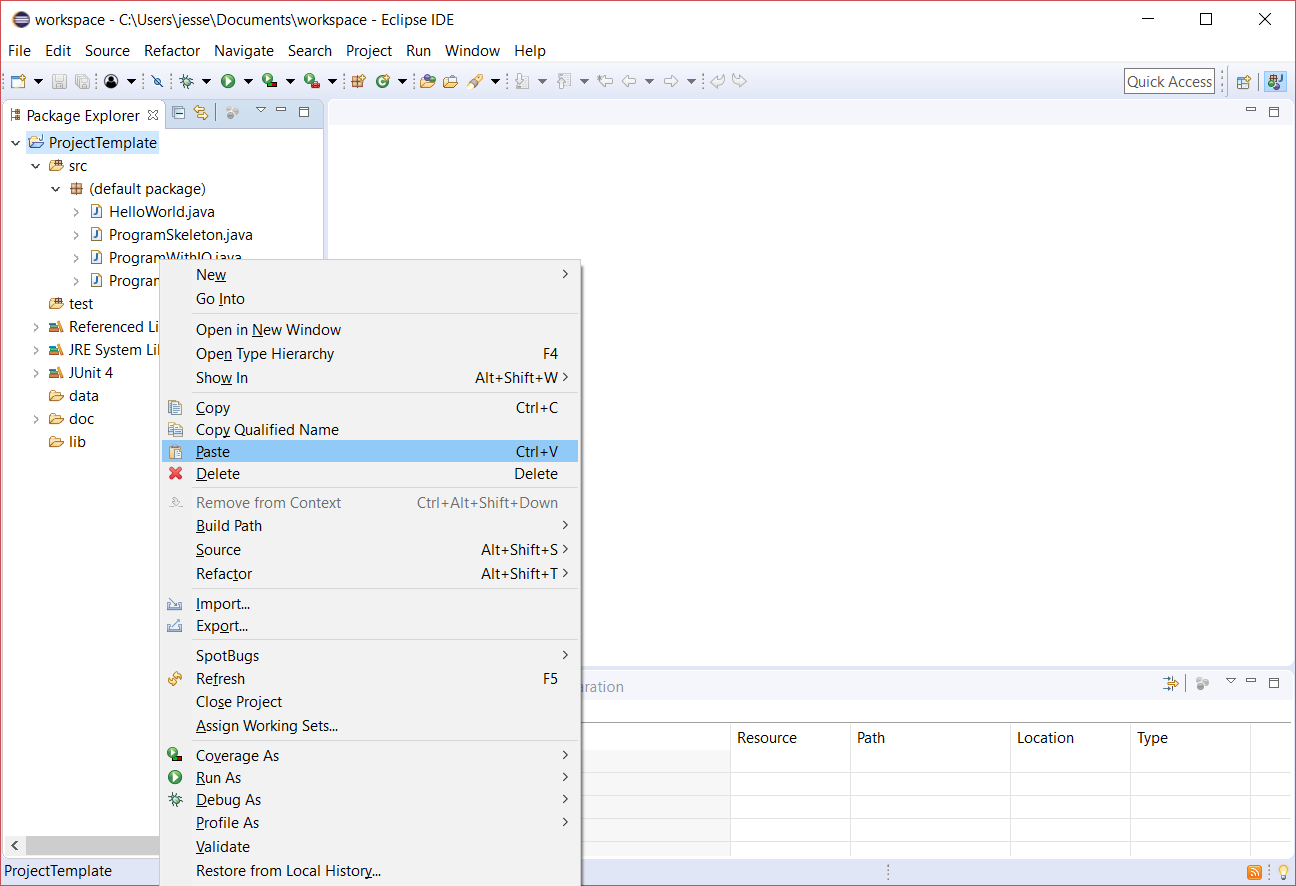
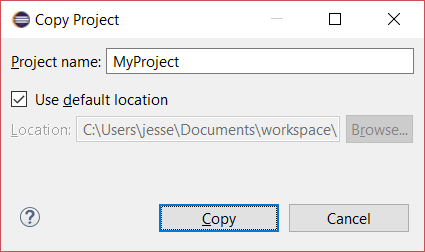
- Click the right mouse button anywhere in the Package
Explorer view and select Paste from the pop-up menu.
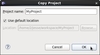
- Enter the name for your new project, MyProject,
and click OK.
- Your new project is now displayed in the Package
Explorer ready to be used as the starting point for your
assignment.
This completes this Eclipse setup guide.